


 Licensed
 All Dubai
 Plumbing Tips & Tutorials
How to Replace a Toilet Flush Valve Seal Easily
 David Miller
 Nov 05, 2026
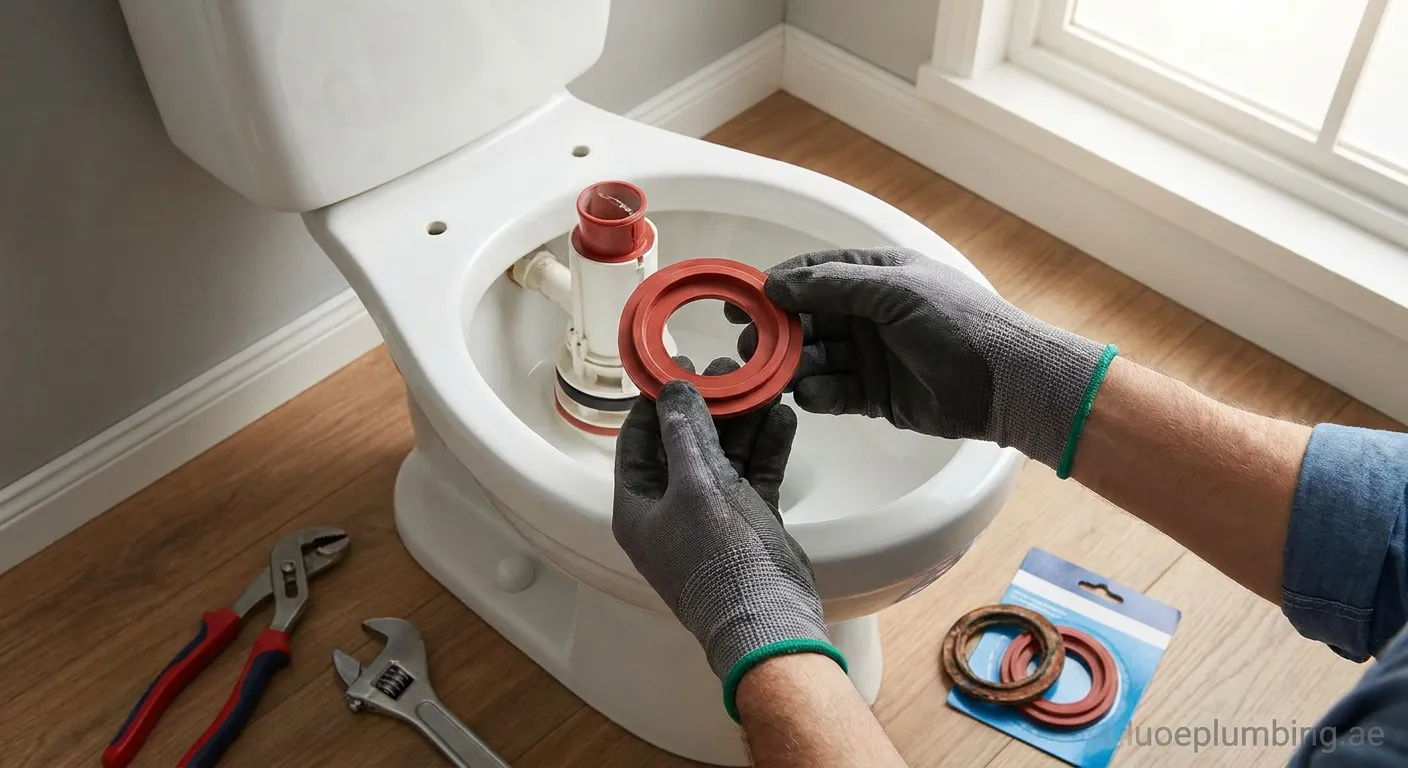
Is your toilet constantly running or leaking into the bowl? Learning how to replace a toilet flush valve seal is a fast, budget-friendly fix to restore proper tank function.
Signs You Need a New Flush Valve Gasket
A degraded rubber gasket allows water to trickle silently from the tank into the toilet bowl. Understanding how to replace a toilet flush valve seal prevents wasted water, high utility bills, and noisy refilling cycles. Common signs of failure include phantom flushing, a hissing fill valve, and visible ripples in the bowl water. Over time, chloramines and hard water minerals cause rubber seals to blister, warp, or crack, creating an imperfect barrier.
Essential Tools and Materials Required
Before starting this DIY project, gather the proper supplies to ensure a smooth repair:
- New OEM or universal silicone/rubber flush valve seal
- Flathead and Phillips screwdrivers
- Adjustable wrench or channel locks
- Sponge, rag, and a small bucket
- Rubber gloves for hygiene and grip
Step 1: Turn Off the Water Supply and Drain Tank
To begin, locate the shutoff angle valve behind the toilet near the wall. Rotate it clockwise until water flow stops completely. Flush the toilet and hold down the handle to empty out as much water as possible. Use a dry sponge and rag to soak up any remaining pooled water at the bottom of the cistern.
Step 2: Access the Flush Valve Assembly
Remove the heavy ceramic tank lid and place it safely on a soft towel. Depending on your toilet brand (such as Kohler, American Standard, or Mansfield), you will encounter either a standard flapper, a dual-flush canister, or a tower-style mechanism. Unclip the thin refill tube and disconnect the lift chain or release clips holding the central canister in place.
Step 3: Remove the Damaged Gasket
When learning how to replace a toilet flush valve seal, careful removal is critical to protect the plastic assembly. Twist the central flush tower counter-clockwise or unhook the flapper hinge gently. Pull off the old, worn rubber O-ring or flat gasket from the bottom groove. Clean any mineral buildup, limescale, or debris from the valve seat using a soft cloth to ensure a completely smooth surface for the replacement part.
Step 4: Install the New Flush Valve Seal
Stretch the replacement seal over the base of the canister or snap the new silicone ring firmly into the retaining groove. Ensure the gasket lies completely flat without twists, bumps, or folds. Re-seat the flush canister or tower back into the valve base and rotate it clockwise until it locks securely into place.
Step 5: Test and Check for Leaks
Reattach the trip lever chain with slight slack and reconnect the small refill tube. Turn the water supply valve counterclockwise to refill the tank. Watch the water reach the fill line, then perform test flushes. Add a few drops of food coloring into the cistern to confirm zero leakage into the bowl. Knowing how to replace a toilet flush valve seal saves time, money, and eliminates annoying running water sounds.
Need Expert Plumbing Assistance?
Replacing a toilet seal is simple, but persistent leaks need pro care. For quick repairs, contact our 24-7-plumber Al Rafaah team anytime to restore your fixtures perfectly!
 toilet repair, flush valve seal, plumbing DIY, toilet maintenance
