How to Replace a Sink Faucet Mounting Nut
A loose faucet is annoying and can lead to leaks. Often, the culprit is a broken nut. Here is how to replace a sink faucet mounting nut yourself easily.
Is your kitchen or bathroom faucet wobbling every time you turn the handle? The problem often lies beneath the counter. Learning how to replace a sink faucet mounting nut is a fundamental DIY skill that can save you from an expensive plumber's bill and prevent potential water damage caused by loose fixtures.
Why Faucet Mounting Nuts Fail
Over time, moisture under the sink causes metal nuts to corrode and seize, while plastic nuts may crack due to stress or age. When this hardware fails, the faucet loses its grip on the countertop. This guide will clarify exactly how to replace a sink faucet mounting nut safely and effectively.
Essential Tools for the Job
Before diving under the sink, gather these tools to ensure a smooth process:
- Basin Wrench: The specific tool designed for tight spaces behind the sink.
- Adjustable Pliers: For gripping stubborn nuts.
- Penetrating Oil (WD-40): Essential for rusted metal nuts.
- Flashlight: To see into the dark cabinet corners.
- Safety Glasses: Falling rust and debris are common.
Step-by-Step: How to Replace a Sink Faucet Mounting Nut
Follow these specific steps to secure your faucet.
1. Prepare the Work Area
First, turn off the water supply valves located under the sink. Open the faucet to drain excess water. Clear out all cleaning supplies or buckets from the cabinet to give yourself room to maneuver. Lay down a towel to catch any drips or debris.
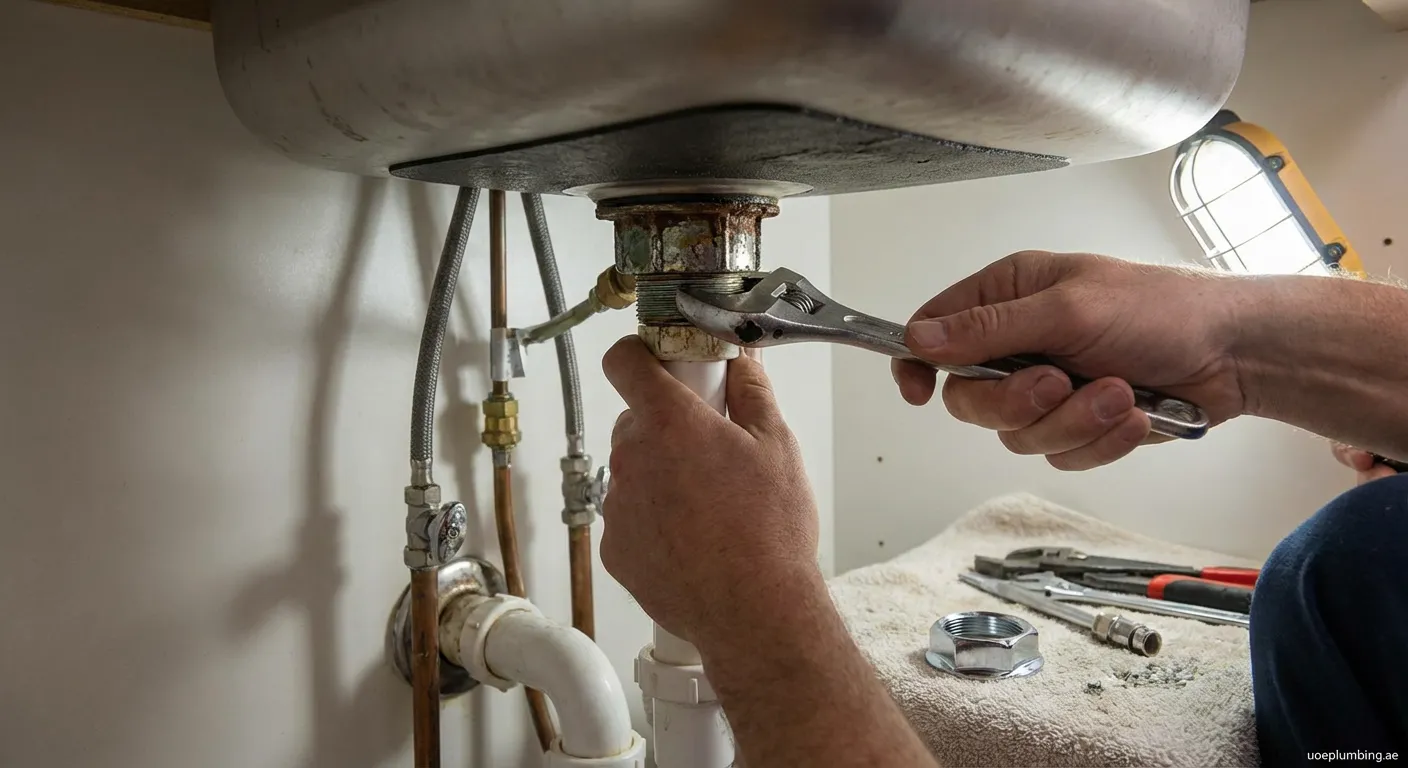
2. Remove the Old Mounting Nut
This is often the hardest part of learning how to replace a sink faucet mounting nut. Locate the nut securing the faucet tailpiece to the underside of the counter.
- If it is plastic: You might be able to turn it by hand or with pliers. If it is cracked, it may just fall off.
- If it is metal: It is likely corroded. Spray it generously with penetrating oil and let it sit for 15 minutes. Use your basin wrench to turn the nut counter-clockwise. If it refuses to budge, you may need to carefully cut it off with a mini-hacksaw, being careful not to damage the faucet threads.
3. Find the Correct Replacement
Not all mounting nuts are universal. Take the old nut (or the pieces of it) to a hardware store. Faucet shanks typically come in standard sizes like 1/2-inch or more, but thread pitch can vary. If you cannot salvage the old nut, knowing the brand of your faucet helps significantly in finding the right hardware kit.
4. Install the New Nut
Now that you have the correct part, the final stage of how to replace a sink faucet mounting nut is installation.
- Clean the threads of the faucet shank with a wire brush to remove old rust or putty.
- Thread the new nut onto the shank by hand to ensure it isn't cross-threaded.
- Hand-tighten the nut until it touches the underside of the sink deck.
- Use the basin wrench to give it a final tightening turn. Do not overtighten, as this can crack the sink or the new nut.
5. Test the Fixture
Turn the water supply back on. Wiggle the faucet handle from above; it should be rock solid. Check underneath for any leaks around the new nut.
Troubleshooting Common Issues
- Spinning Faucet: If the whole faucet spins when you try to remove the nut, have a helper hold the faucet steady from above while you work below.
- Restricted Access: If the space is too tight even for a basin wrench, you might need to remove the drain pipes temporarily to gain access.
Mastering how to replace a sink faucet mounting nut is about patience and leverage. Once completed, your sink will be secure and functional again.
Final Thoughts on Faucet Repair
Fixing a wobbling tap is satisfying, but sometimes corrosion makes it impossible. If you need help, we also have a service in Oud Al Muteena 1, check out our Emergency-plumber Oud Al Muteena 1 for expert assistance.