


 Licensed
 All Dubai
 DIY Plumbing
How to Replace a Toilet Trip Lever
 Alex Morgan
 Oct 04, 2026
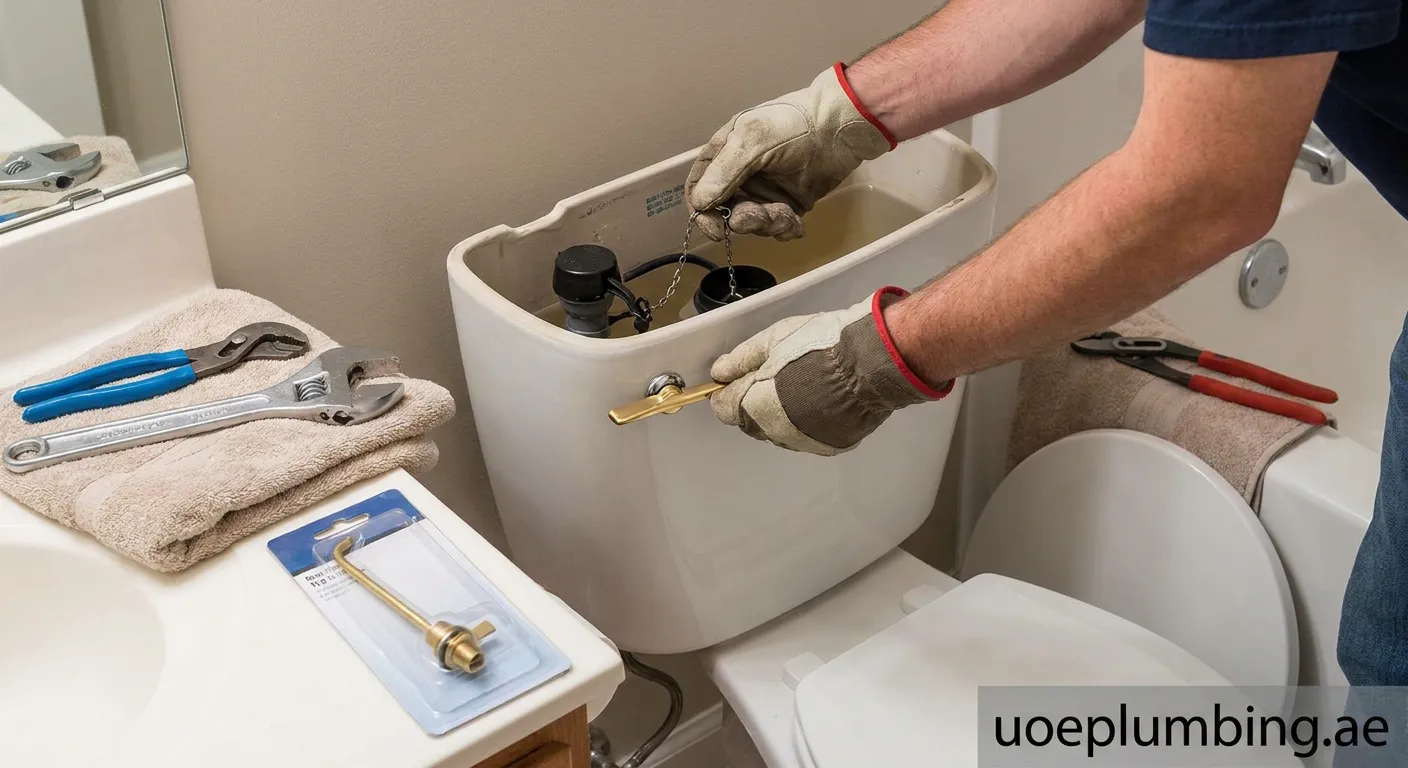
A broken flush handle can disrupt your daily routine. Learn how to replace a toilet trip lever in just a few minutes using simple household tools and save on unnecessary repair bills.
Is your toilet handle loose, sticking, or refusing to flush the tank? Over time, mineral buildup, corrosion, and everyday wear cause flush handles to break. Fortunately, understanding how to replace a toilet trip lever is one of the easiest home maintenance skills to master. With a few standard tools and 15 minutes of your time, you can restore smooth flushing operation without calling a contractor.
Why Toilet Trip Levers Fail
Before starting the repair, it helps to understand why the mechanism stopped functioning properly:
- Corrosion and Rust: Metal trip levers degrade in humid tank environments.
- Plastic Fatigue: Cheap plastic trip arms snap easily under repeated pressure.
- Loose Mounting Nut: The nut holding the lever against the tank wall can loosen over time.
- Detached or Tangled Chain: The flapper chain may break or disconnect from the lever arm.
Tools and Materials Needed
You do not need expensive plumbing equipment to complete this project. Gather the following items:
- Replacement toilet trip lever (front, side, or angle mount matching your tank design)
- Adjustable wrench or pliers
- Flathead and Phillips screwdrivers
- Clean rag or sponge
- Penetrating oil (optional, for rusted reverse-thread nuts)
Step-by-Step Guide on How to Replace a Toilet Trip Lever
Follow these straightforward steps to remove the faulty handle and install a brand-new assembly.
1. Remove the Tank Lid
Carefully lift the ceramic toilet tank lid and set it down on a soft towel or rug to prevent chipping or cracking.
2. Disconnect the Lift Chain
Locate the chain connecting the trip lever arm to the rubber flapper valve at the bottom of the tank. Unhook the clip from the lever arm. Note which hole the clip was attached to so you can replicate the tension later.
3. Unscrew the Mounting Nut
Here is the most critical detail when learning how to replace a toilet trip lever: tank mounting nuts feature reverse threads (left-handed threads).
- To loosen the nut, turn it clockwise.
- To tighten it, turn it counterclockwise. Use an adjustable wrench to loosen the nut, then slide it off the lever arm.
4. Remove the Old Flush Handle
Slide the entire trip lever arm out through the tank mounting hole. Clean away any grime, limescale, or mineral deposits around the hole with a rag.
5. Install the New Trip Lever
Insert the new lever arm into the tank hole from the outside. Slide the mounting nut over the arm inside the tank and thread it onto the handle base by turning counterclockwise. Hand-tighten first, then snug it gently with a wrench. Avoid overtightening to prevent cracking the porcelain.
6. Connect and Adjust the Chain
Hook the flapper chain onto the new lever arm. Ensure there is about 1/2 inch of slack:
- If the chain is too tight, the flapper will not seal, leading to water leaks.
- If the chain is too loose, pressing the handle will not lift the flapper fully.
7. Test the Flush
Press the new handle several times. Verify that the flapper lifts easily and falls back into place to create a watertight seal. Once confirmed, replace the tank lid.
Professional Plumbing Help
Need expert assistance? If DIY repairs feel overwhelming, our skilled team is ready to help. We also offer Plumbing-services Khawr Fakkān for quick, reliable home plumbing solutions. Contact us today!
 toilet repair, trip lever replacement, flush handle, plumbing DIY
