


 Licensed
 All Dubai
 Bathroom Plumbing
How to Replace a Shower Head Diverter: Complete Guide
 Smith John
 Jul 26, 2026
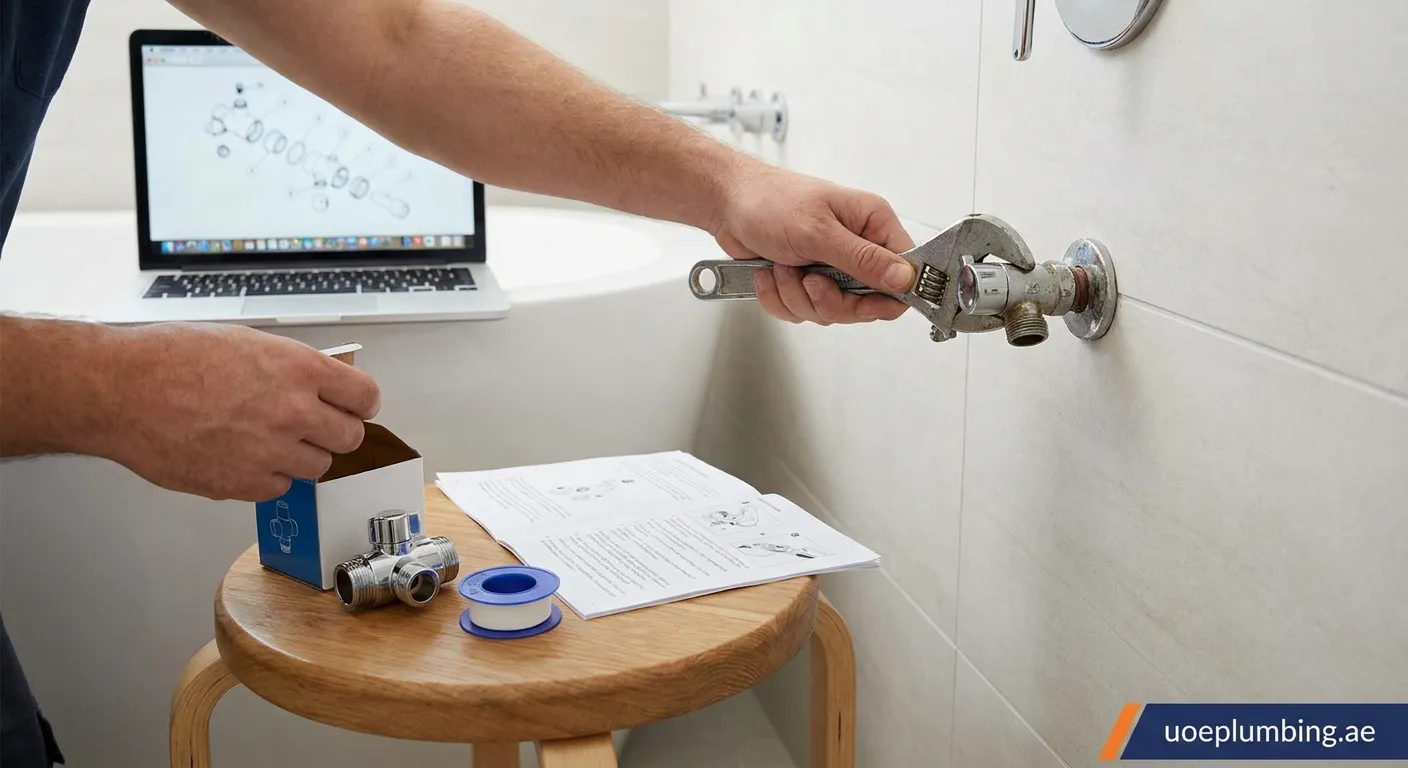
A faulty shower head diverter causes frustration and wasted water. This guide explains exactly how to replace a shower head diverter correctly.
Signs You Need to Replace Your Shower Diverter
Before learning how to replace a shower head diverter, identify if replacement is necessary:
- Water leaks from tub spout when shower is active
- Difficult to switch between tub and shower modes
- Reduced water pressure in shower head
- Diverter handle feels loose or won't stay in position
- Visible corrosion or mineral buildup on valve
Types of Shower Diverters
Understanding your diverter type helps when learning how to replace a shower head diverter:
- Spout-mounted diverters – Built into tub spout
- Three-valve diverters – Separate handle between hot/cold controls
- Two-valve diverters – Single handle rotates to activate shower
- Tee diverters – Located behind wall (requires more work)
Tools and Materials Needed
Gather these items before starting:
| Tool | Purpose |
|---|---|
| Adjustable wrench | Remove fittings |
| Pipe wrench | Grip stubborn connections |
| Teflon tape | Seal pipe threads |
| Plumber's grease | Lubricate O-rings |
| Allen wrench set | Remove set screws |
| Replacement diverter | Match existing model |
Pro Tip: Take photos of existing setup before disassembly for reference during reinstallation.
Step-by-Step Guide: How to Replace a Shower Head Diverter
Step 1: Shut Off Water Supply
Turn off main water valve or local shutoff. Open faucet below to drain remaining water from lines.
Step 2: Access the Diverter Valve
For spout-mounted types:
- Locate set screw underneath spout
- Remove screw with Allen wrench
- Twist spout counterclockwise
For handle-operated diverters:
- Pop off decorative cap
- Unscrew handle screw
- Remove handle and escutcheon plate
Step 3: Remove Old Diverter Valve
Understanding this step is crucial when mastering how to replace a shower head diverter:
- Use wrench to unscrew diverter cartridge (turn counterclockwise)
- Pull old valve straight out
- Inspect valve body for damage or corrosion
- Clean threads with wire brush if needed
Step 4: Install New Diverter Assembly
Apply Teflon tape clockwise onto new valve threads (2-3 wraps). Insert new diverter into opening and hand-tighten initially.
Use wrench for final quarter-turn – avoid overtightening which damages components.
Step 5: Reassemble Components
Reverse disassembly order:
- Reattach handle or spout
- Tighten set screws securely
- Replace decorative elements
Step 6: Test Your Work
Restore water supply gradually. Check for leaks around connections. Test switching between tub and shower modes multiple times.
Common Mistakes to Avoid
When learning how to replace a shower head diverter, avoid these errors:
- Overtightening connections – Cracks plastic components
- Forgetting Teflon tape – Causes persistent leaks
- Wrong replacement part – Measure old valve precisely before purchasing
Final Tips and Professional Help
Replacing a shower diverter is manageable with proper tools and patience. If you encounter complex issues, our professional team can help. We also offer services in Khuzam – check out Water-heater-repair Khuzam for expert assistance.
 shower repair, diverter valve, bathroom plumbing, DIY repairs
