How to Install a Drain Valve: Complete Step-by-Step Guide
Understanding how to install a drain valve empowers homeowners to maintain their plumbing systems efficiently. This comprehensive guide walks you through each step of the process.
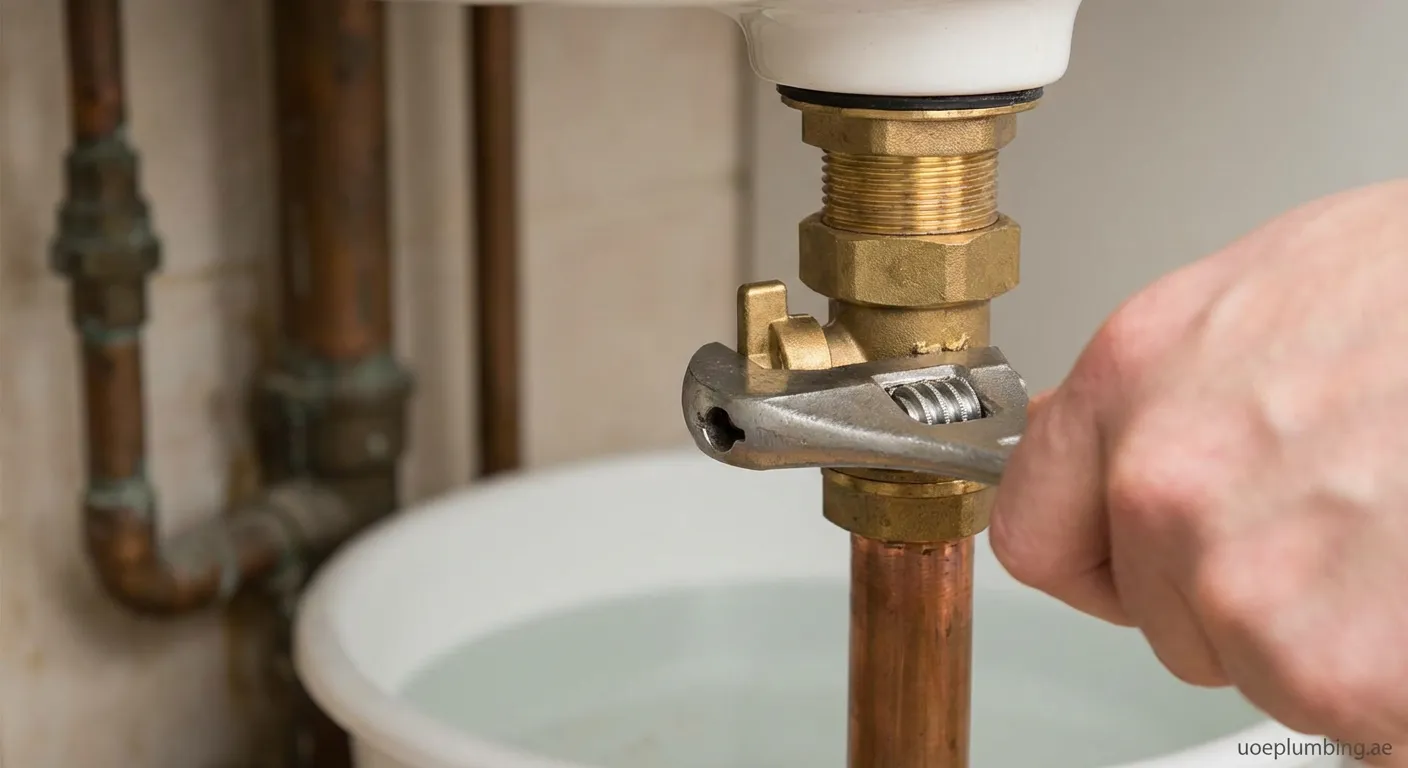
How to install a drain valve is a common question among homeowners looking to maintain their water heaters and plumbing systems effectively.
Why Install a Drain Valve?
A properly functioning drain valve serves several essential purposes:
- Allows easy draining of water heaters for maintenance
- Helps remove sediment buildup from tanks
- Enables quick water shutoff during emergencies
- Simplifies system winterization
Types of Drain Valves
Before learning how to install a drain valve, understand your options:
- Brass ball valve – Most durable, allows full water flow
- Plastic drain valve – Budget-friendly but less durable
- Gate valve – Traditional option, prone to leaking over time
"A quality brass ball valve can last decades with minimal maintenance." – Professional Plumber's Advice
Tools and Materials Needed
Gather these items before starting your installation:
Required Tools:
- Adjustable wrench set
- Pipe wrench
- Teflon tape (thread seal tape)
- Bucket or container
- Towels for water cleanup
- Flashlight for visibility
Materials:
- New drain valve (brass ball valve recommended)
- Pipe dope or thread sealant
- Replacement gaskets if needed
Step-by-Step Guide: How to Install a Drain Valve
Follow these detailed steps to successfully complete your installation:
Step 1: Turn Off Power and Water Supply
Safety is paramount when working on plumbing systems.
Turn off the power to electric water heaters at the circuit breaker. For gas units, set the control valve to "pilot" position.
Shut off the cold water supply valve leading to your water heater tank.
Step 2: Drain the Tank Partially
Connect a garden hose to the existing drain valve and run it to a floor drain or outside. Open a hot water tap somewhere in your house to allow air into the system.
Drain approximately 2-3 gallons to relieve pressure before removing the old valve.
Step 3: Remove the Old Valve
Use your pipe wrench to carefully unscrew the old drain valve counterclockwise. Expect some residual water to flow out – keep towels ready.
Inspect the threads on the tank opening for damage or corrosion.
Step 4: Prepare the New Valve
Wrap Teflon tape around the threads of your new drain valve:
- Apply 3-4 wraps clockwise (following thread direction)
- Smooth the tape into threads firmly
- Alternatively, apply pipe dope according to manufacturer instructions
Step 5: Install the New Drain Valve
Thread the new valve into the tank opening by hand first to avoid cross-threading. Once finger-tight, use your wrench to tighten:
- Turn clockwise until snug
- Position the valve handle for easy access
- Don't overtighten – brass can crack under excessive force
Step 6: Test Your Installation
Close all hot water taps in your home. Open the cold water supply slowly while checking for leaks around the newly installed valve.
Once full pressure is restored, open and close the new drain valve briefly to verify proper operation.
Common Mistakes to Avoid When Installing a Drain Valve
Learning how to install a drain valve properly means avoiding these pitfalls:
- Forgetting to turn off power before draining
- Overtightening plastic valves causing cracks
- Skipping Teflon tape resulting in leaks at threads
Final Thoughts on Drain Valve Installation
Installing a drain valve yourself saves time and money while improving your home's plumbing efficiency. If you need professional assistance, our team also offers faucet repair in Al Jazīrah al Ḩamrā' Faucet-repair Al Jazīrah al Ḩamrā'.