How to Fix a Leaking Hose Bib: A DIY Guide
A dripping outdoor faucet wastes water and increases bills. Learn exactly how to fix a leaking hose bib yourself with simple tools and our easy guide.
A dripping outdoor faucet might seem like a minor annoyance, but over time, it can waste hundreds of gallons of water and damage your home's foundation. Knowing how to fix a leaking hose bib is a fundamental skill for any homeowner. Fortunately, this repair is usually inexpensive and can be completed in less than an hour with basic tools.
Why is Your Hose Bib Leaking?
Before diving into the repair, it helps to understand why the leak is happening. Most hose bibs (also called outdoor faucets or spigots) leak due to worn-out internal components.
- Worn Washers: The rubber washer that seals the valve often hardens or cracks over time.
- Damaged O-Rings: Located near the packing nut, these prevent water from oozing out of the handle.
- Loose Packing Nut: Sometimes, simply tightening a nut is the solution.
"A slow drip of just one drop per second can waste over 3,000 gallons of water per year."
Tools and Materials You Will Need
To perform this repair efficiently, gather the following items:
- Adjustable wrench or pliers.
- Phillips and flathead screwdrivers.
- Replacement washers and O-rings (assorted pack).
- Plumber’s grease (silicone-based).
- Penetrating oil (like WD-40) for stuck screws.
Step-by-Step: How to Fix a Leaking Hose Bib
Follow these steps to stop the leak at the spout or the handle.
1. Shut Off the Water Supply
Locate the water shut-off valve for your outdoor faucet. This is usually found in the basement, crawl space, or utility room. Turn the valve clockwise to stop the water flow. Open the hose bib outside to drain the remaining water.
2. Remove the Handle
Using your screwdriver, remove the screw holding the handle in place. If it is rusted tight, apply penetrating oil and wait a few minutes. Wiggle the handle off the stem.
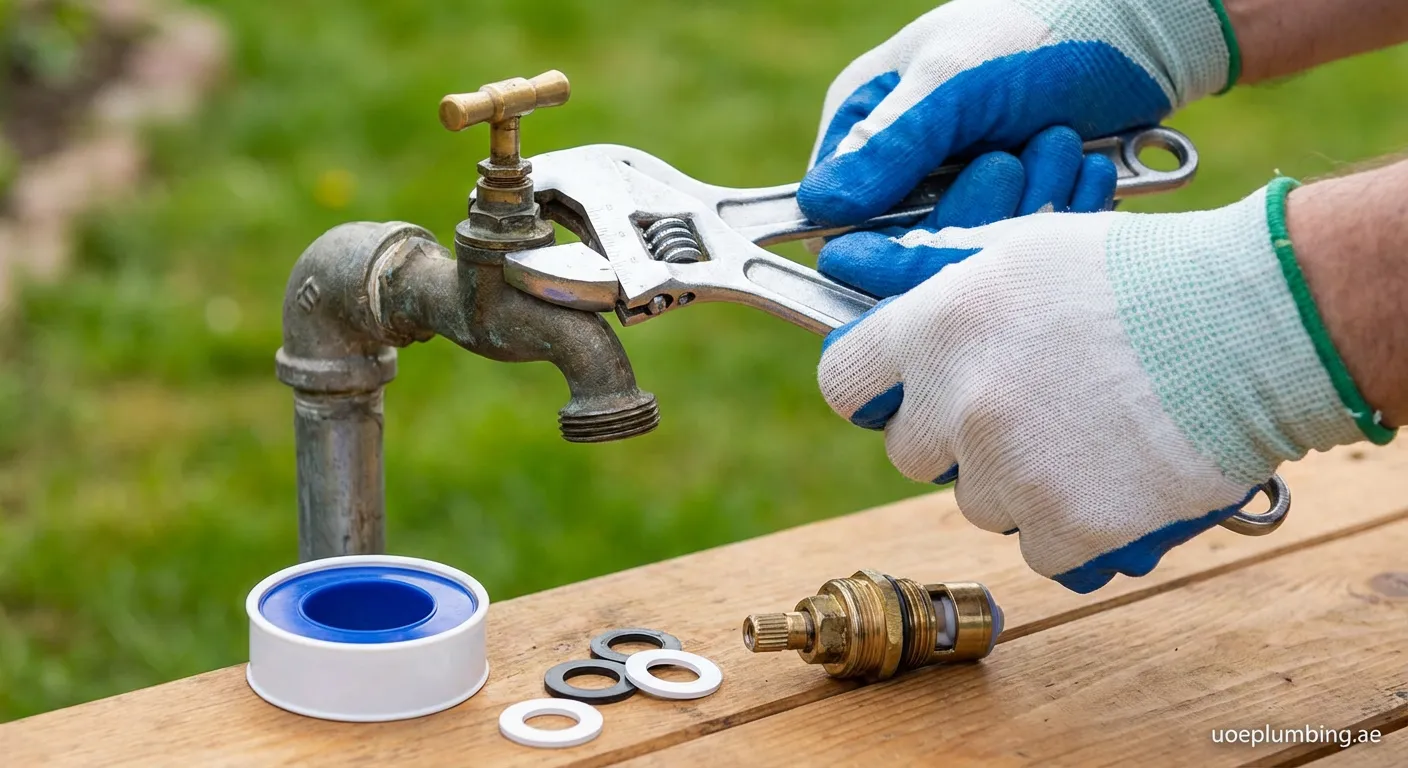
3. Loosen the Packing Nut
Use your adjustable wrench to loosen the packing nut located behind the handle. Turn it counter-clockwise. Once loose, you can unscrew the valve stem assembly from the faucet body.
4. Inspect and Replace Components
This is the core of how to fix a leaking hose bib.
- For Spout Leaks: Look at the bottom of the valve stem. You will see a rubber washer held by a brass screw. Remove the screw and pry out the old washer. Install a new washer of the same size and secure it with the screw.
- For Handle Leaks: If water leaks from the handle when the faucet is on, replace the O-ring on the stem or replace the packing string if your model uses it.
5. Reassemble the Faucet
Apply a small amount of plumber’s grease to the new washer and the stem threads. Slide the stem back into the faucet body. Tighten the packing nut (do not over-tighten) and reattach the handle.
6. Test for Leaks
Turn the water supply back on. Open the hose bib to let air escape, then close it. Check for drips. If the leak persists, the valve seat inside the faucet body might be damaged, which may require a valve seat dresser or a full faucet replacement.
Fixing a Leaking Vacuum Breaker
Sometimes the leak comes from the vacuum breaker (the mushroom-shaped cap on top of frost-free bibs). If water sprays from under this cap, you likely need a vacuum breaker repair kit. Simply unscrew the cap, remove the plastic internal parts, and snap the new ones in place.
By following these instructions on how to fix a leaking hose bib, you can extend the life of your plumbing and reduce your water bill significantly.
Stop the Water Waste Today
Successfully repairing your spigot saves water and money. If problems continue, seek expert help. We also have a service in The Thanyah 4, so check our Drain-cleaning The Thanyah 4 for professional assistance.