How to Fix a Leaking Rotor Sprinkler Head
A leaking sprinkler wastes water and damages your lawn. Learn the essential steps on how to fix a leaking rotor and get your irrigation system back in shape.
A lush, green lawn depends on a functional irrigation system, but a broken component can quickly turn your garden into a swamp. One of the most common issues homeowners face is a leaking sprinkler head. Understanding how to fix a leaking rotor can save you significant money on water bills and prevent damage to your landscape.
Identifying the Source of the Leak
Before you grab your tools, you need to determine where the water is coming from. Leaks generally occur in two states: when the system is running or when it is off.
- Leak during operation: Usually caused by a damaged wiper seal or a cracked casing. You will see water gushing out around the stem rather than spraying from the nozzle.
- Leak when off (Low Head Drainage): If water pools around the lowest head in your zone after the system shuts down, this is gravity draining the pipes. This requires installing a check valve, not just fixing the rotor itself.
Tools Required for the Job
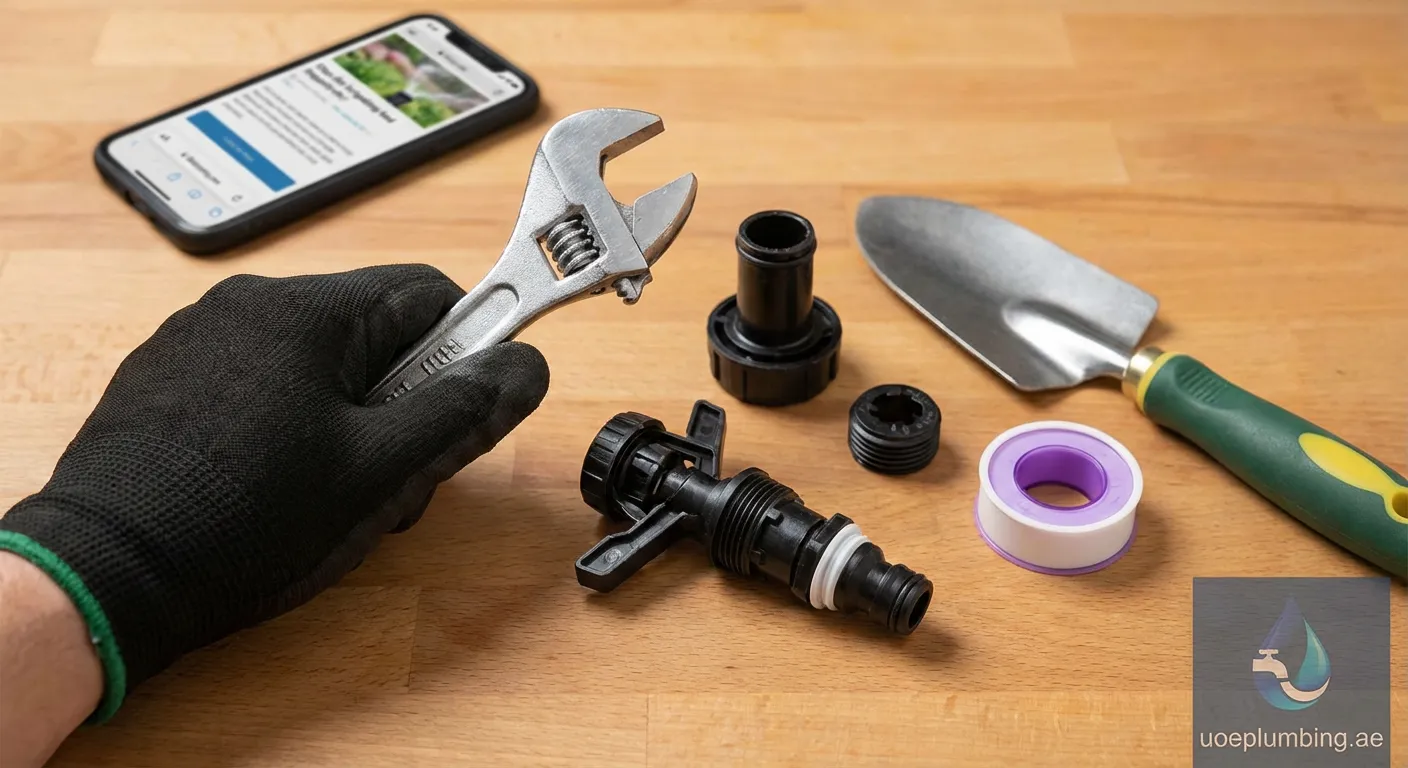
To successfully tackle this repair, gather the following:
- Small shovel or trowel
- Replacement rotor guts or seals (match the brand/model)
- Pliers or a head wrench tool
- Bucket of water for rinsing
- Rag
Step-by-Step: How to Fix a Leaking Rotor
If you have confirmed that the rotor itself is the culprit (leaking while running), follow these steps to repair it.
1. Clear the Area
Carefully dig around the sprinkler head to expost the canister. Be gentle to avoid hitting the lateral PVC pipe connected to the bottom. You need enough room to unscrew the cap without dirt falling into the line.
2. Inspect the Wiper Seal
The wiper seal prevents water from flowing out between the riser and the cap. Over time, grit and debris can wear this seal down.
- Unscrew the cap of the rotor (counter-clockwise).
- Pull out the internal assembly.
- Check the white plastic seal or rubber gasket. If it looks chewed up or brittle, this is likely why you searched for how to fix a leaking rotor.
3. Flush the System
Debris is a rotor’s worst enemy. With the internals removed, turn on the sprinkler zone for just a few seconds. This will flush out any sand or rocks sitting in the line that might prevent a good seal.
4. Replace the Internals
While you can sometimes replace just the seal, it is often easier and more reliable to replace the entire internal assembly ("the guts") while leaving the original canister in the ground.
- Insert the new assembly into the existing body.
- Hand-tighten the cap securely to ensure the new seal seats correctly.
5. Adjustment and Testing
Turn the water back on. Check if the leak around the stem has stopped. If the seal is tight, adjust the arc and radius of the spray to match your lawn's needs.
Addressing Low Head Drainage
If your search for how to fix a leaking rotor was prompted by puddles forming after the sprinklers turn off, you likely have "low head drainage." The water left in the pipes drains out the lowest point.
- The Fix: Install a check valve. Many modern rotors come with a built-in check valve (often called a SAM or Seal-A-Matic). If yours doesn't, you can install a check valve underneath the rotor inlet.
Pro Tip: Always replace rotors with the same brand and model to ensure the precipitation rate remains consistent across your lawn.
Maintenance Tips
To avoid future leaks, inspect your system every spring. cleaning the filters inside the rotors and ensuring lawn mowers haven't damaged the heads will prolong the life of your irrigation system significantly. Learning how to fix a leaking rotor is a valuable skill, but prevention is even better.
Final Thoughts on Rotor Repair
Regular maintenance is key to a healthy lawn. If the issue persists after following these steps, you might need professional help. We also offer services in Al Qusais Industrial Area 4, check our Faucet-repair Al Qusais Industrial Area 4 service.