


 Licensed
 All Dubai
 Plumbing Guides
How to Fix a Leaking Diaphragm in a Toilet
 David Miller
 Nov 01, 2026
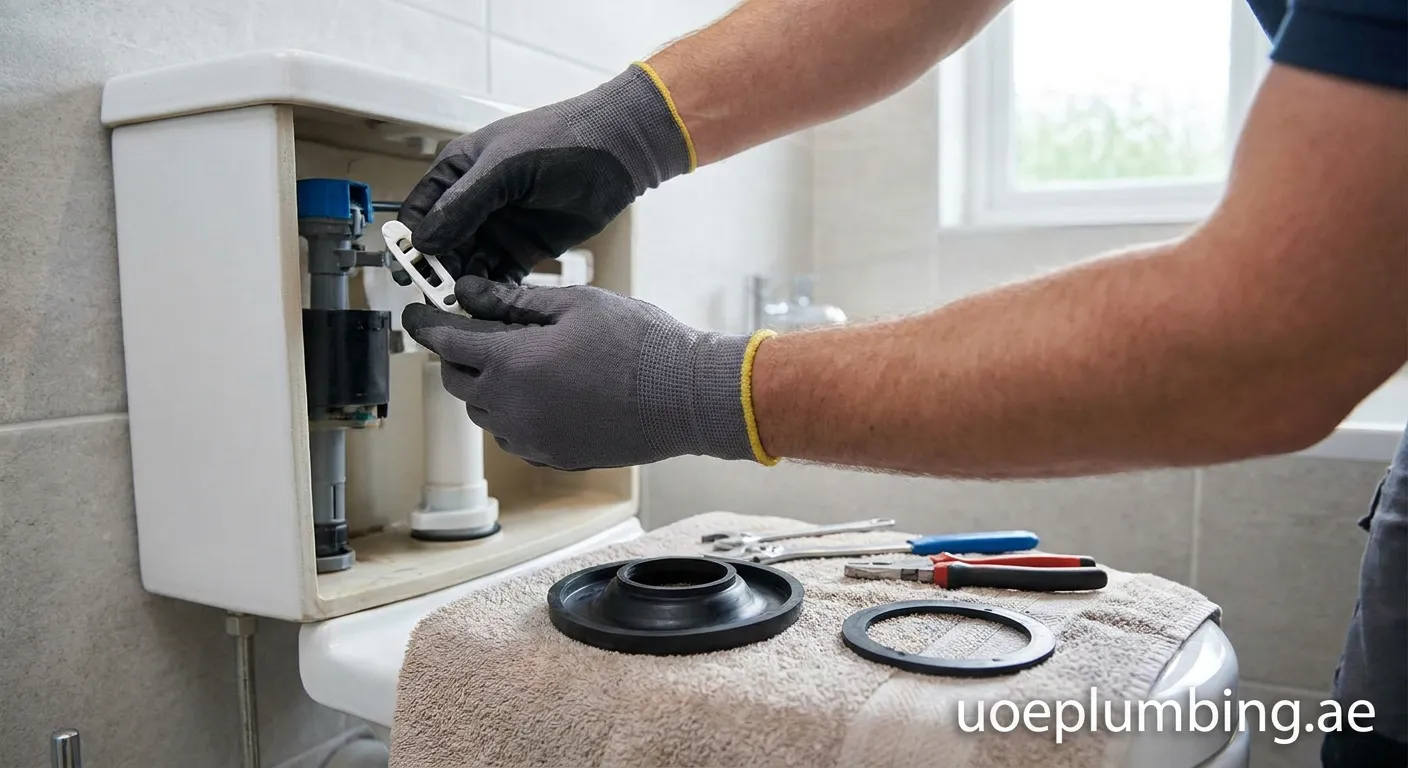
A hissing or constantly running toilet is often caused by a worn fill valve seal. Discover practical steps on how to fix a leaking diaphragm washer quickly and effectively.
A faulty fill valve can lead to persistent hissing sounds, continuous water trickling into the pan, and unexpected spikes in your utility bills. In most modern cisterns, the primary culprit behind these symptoms is a deteriorated rubber membrane. Knowing how to fix a leaking diaphragm can save you money and prevent unnecessary water wastage.
What Causes Diaphragm Valve Leaks?
The diaphragm washer sits inside the toilet inlet valve (ballvalve or fill valve). Its job is to seal off water flow once the cistern reaches the correct level. Over time, several factors cause it to fail:
- Limescale and mineral buildup: Hard water deposits degrade the rubber, preventing a tight seal.
- Wear and tear: Repeated flexing during thousands of flushes causes the rubber to warp, split, or become stiff.
- Debris in the supply line: Small particles of grit can wedge under the diaphragm edge, keeping it slightly open.
Understanding how to fix a leaking diaphragm allows you to resolve the problem in minutes without replacing the entire fill valve assembly.
Tools and Parts Needed
Before starting the repair, gather the following basic supplies:
- New replacement diaphragm washer (check standard size, usually 32mm / 1.25")
- Flathead screwdriver or adjustable pliers (if the cap is tight)
- Dry cloth or sponge
- Small bowl or bucket for residual water
Step-by-Step: How to Fix a Leaking Diaphragm
Follow these straightforward steps to service your inlet valve diaphragm washer:
1. Shut Off the Water Supply
Turn off the isolation valve located on the pipe feeding the cistern. If there is no dedicated shut-off valve, turn off your home’s main stopcock. Flush the toilet to empty the cistern tank.
2. Disassemble the Fill Valve Cap
Locate the fill valve inside the tank. Most standard float valves feature a twist-off cap or a retaining nut holding the float arm. Gently twist the retaining ring anti-clockwise or unscrew the top retaining nut by hand. Support the valve body so it does not twist out of alignment.
3. Remove the Old Diaphragm Washer
Once the cap is detached, you will see a small circular rubber diaphragm seated over a plastic pin or nozzle. Pry out the old washer carefully. Check its surface: splits, pinholes, or distorted edges confirm it was the source of the leak.
4. Clean the Housing and Nozzle
Wipe away any limescale, sediment, or grime from the plastic seating area and the brass/plastic pin. A clean contact surface ensures the new rubber creates an airtight and watertight seal.
5. Install the Replacement Diaphragm
Fit the new diaphragm washer into place, ensuring the rubber side faces the water inlet port according to manufacturer instructions. Ensure the center locating pin is properly seated.
6. Reassemble and Test
Screw or clip the top cap back on firmly, but do not overtighten plastic threads. Turn the water supply back on slowly. Let the cistern fill and verify that the valve shuts off completely without dripping, hissing, or overflowing into the siphon tube.
Pro Maintenance Tip
If water continues to bypass after replacing the diaphragm, inspect the valve seat for hairline cracks. In rare cases of severe plastic degradation, a complete fill valve replacement is recommended. Regular inspection keeps your plumbing system quiet, durable, and highly efficient.
Expert Help for Toilet Plumbing
If you need professional assistance to replace faulty components, our team is ready to help. We also provide swift service for Toilet-repair Corniche Deira to restore quiet, leak-free operation to your bathroom fixtures today.
 toilet repair, inlet valve, leaking diaphragm, diy plumbing
