


 Licensed
 All Dubai
 DIY Plumbing Guides
How to Replace a Sink Sprayer Hose in Easy Steps
 David Miller
 Oct 08, 2026
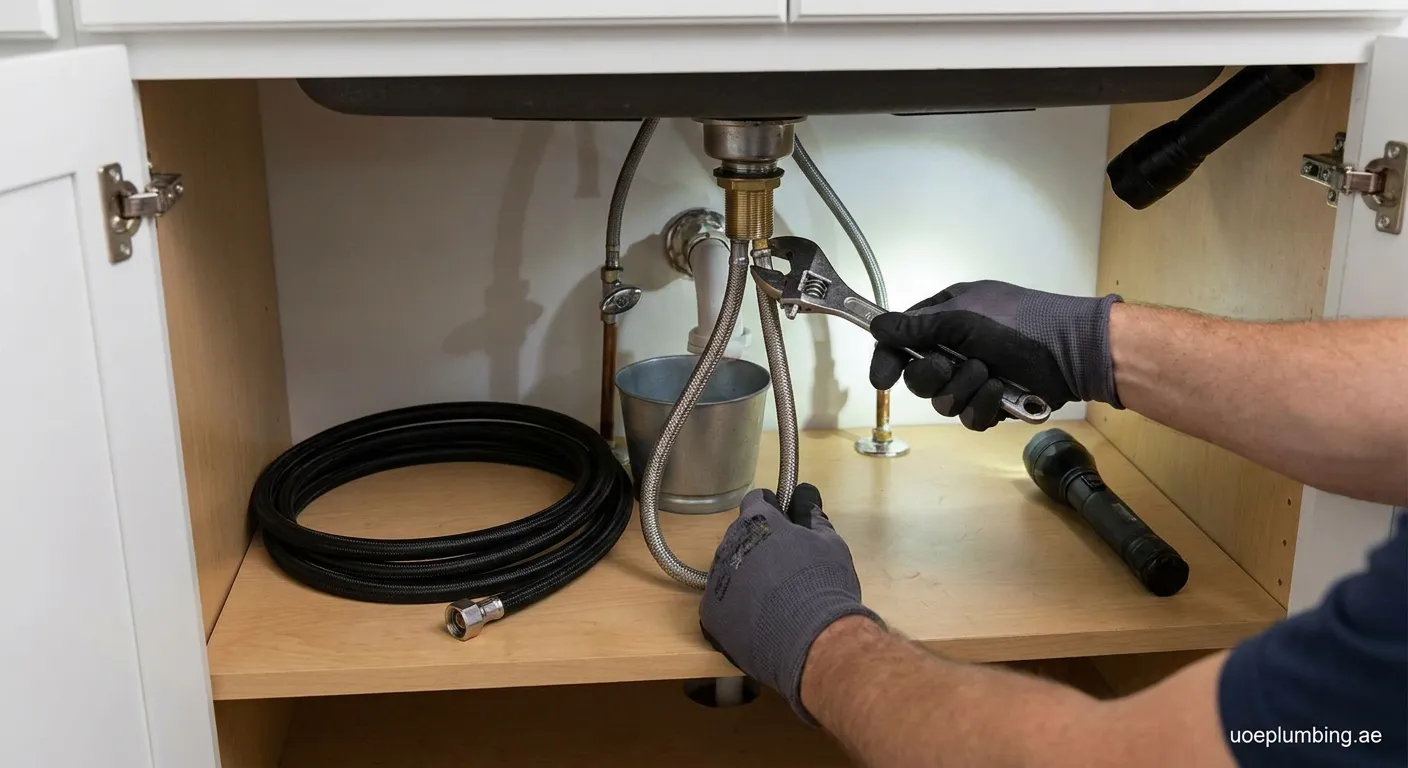
A leaking or broken kitchen sprayer can cause water damage under your counter. Learn how to replace a sink sprayer hose quickly with basic tools and simple steps.
Essential Tools and Materials for Sink Sprayer Replacement
Before learning how to replace a sink sprayer hose, gather all necessary equipment to ensure a smooth repair process. Having the right tools prevents unexpected trips to the hardware store and protects your plumbing fixtures from accidental damage.
- Replacement sink sprayer assembly and matching hose
- Adjustable wrench or channel-lock pliers
- Basin wrench (for tight spaces behind the sink basin)
- Plumber's tape (Teflon thread seal tape)
- Bucket, small tray, and dry rags
- Flashlight or headlamp for visibility under the cabinet
Safety Tip: Always shut off the water valves before disconnecting any plumbing pipes to prevent accidental flooding.
Step 1: Turn Off the Water Supply and Relieve Pressure
The first phase in understanding how to replace a sink sprayer hose is cutting off the water flow. Look underneath the kitchen sink and locate the hot and cold shut-off valves. Turn them clockwise until tightly closed. Open the kitchen faucet and press the sprayer trigger to release residual water pressure and drain standing water into the sink. Place a shallow bucket beneath the hose connections to catch drips.
Step 2: Disconnect the Old Kitchen Sprayer Hose
Underneath the sink, locate the connection point where the sprayer hose connects to the faucet diverter stem. Modern faucets often use quick-connect clips, while older fixtures use threaded brass nuts.
- Quick-Connect Systems: Press the release tabs on the plastic collar and pull the hose straight down.
- Threaded Connections: Use an adjustable wrench to loosen the brass nut counterclockwise while steadying the supply pipe. Once detached, pull the old hose upward through the sink deck hole or mounting guide from above the counter.
Step 3: Prepare the New Sprayer Assembly
Clean the mounting hole on the sink deck to remove mineral deposits or mildew. If replacing the sprayer guide collar, unscrew the plastic mounting nut from underneath, insert the new guide, and hand-tighten the retaining nut. Apply two to three wraps of Teflon tape to any male threaded fittings to ensure a watertight seal.
Step 4: Install the Replacement Sprayer Hose
Feed the female end of the new hose downward through the sink guide collar from the top. Underneath the cabinet, connect the hose to the faucet diverter:
- For quick-connect fittings, push the hose connector firmly onto the stem until you hear a distinct click.
- For threaded fittings, thread the nut onto the outlet by hand first to avoid cross-threading, then tighten with a wrench without overtightening.
Step 5: Test for Leaks and Check Operation
Turn the water supply valves counterclockwise to restore water flow. Pull the sprayer head out, point it into the sink basin, and squeeze the trigger. Check the entire hose line and all connections underneath for moisture using a dry paper towel. Knowing how to replace a sink sprayer hose properly guarantees a leak-free kitchen and reliable water pressure.
Need Expert Plumbing Assistance?
Mastering how to replace a sink sprayer hose solves leaks quickly. If you need professional assistance, our expert team at Plumbing-company Al Nakheel is always ready to handle any plumbing upgrades or complex repairs for you.
 plumbing guide, sink sprayer hose, DIY plumbing, kitchen repair
