


 Licensed
 All Dubai
 Plumbing Repair
How to Fix a Leaking Countersunk Plug
 David Miller
 Oct 25, 2026
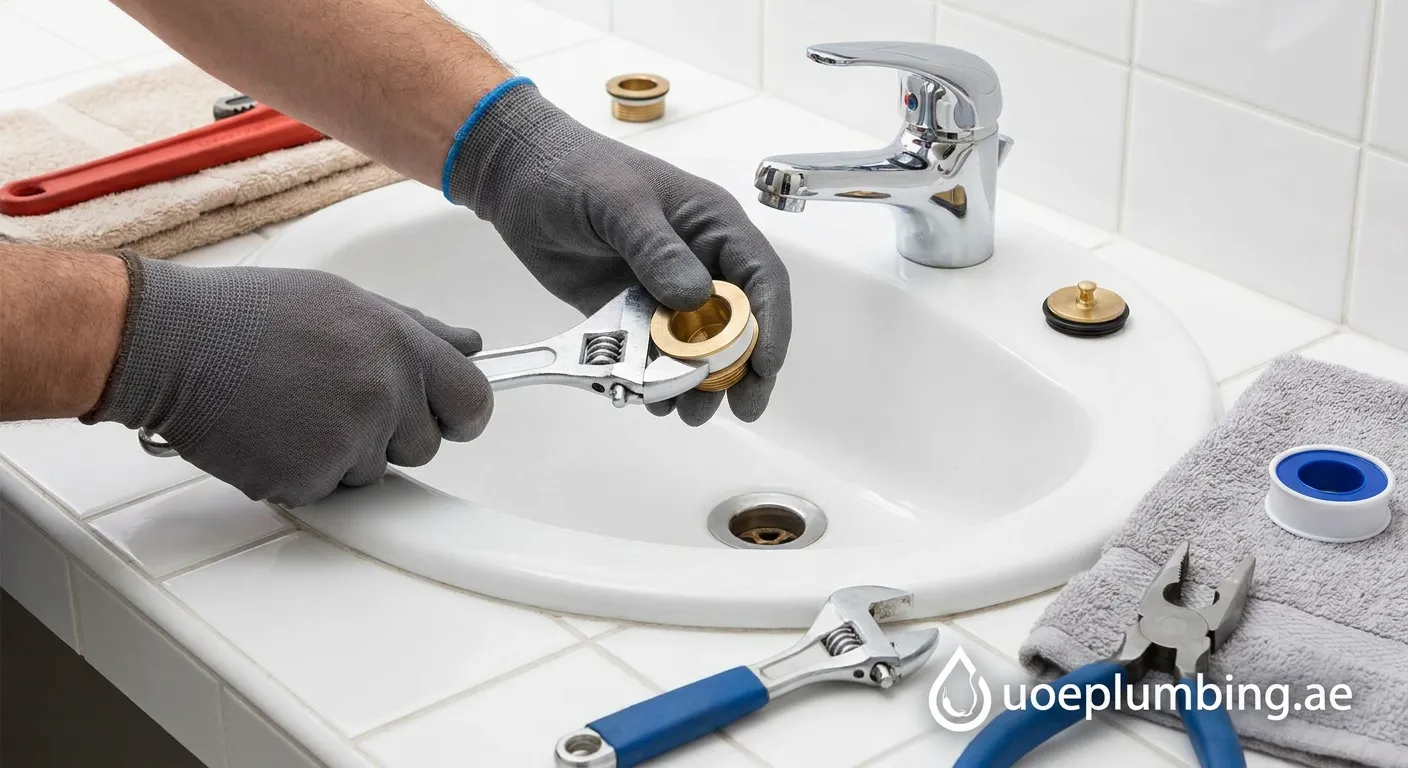
A dripping pipe fitting can lead to severe water damage if neglected. Learn how to fix a leaking countersunk plug with simple tools and proven sealing methods to keep your plumbing secure.
Understanding Countersunk Plug Leaks
A countersunk plug, often featuring an internal hex or square drive, sits flush inside threaded pipe fittings, manifold ports, or engine blocks. Over time, vibration, thermal expansion, or degraded thread sealant can cause stubborn seepage. Knowing how to fix a leaking countersunk plug safely prevents extensive moisture damage, corrosion, and pressure drops in residential and commercial plumbing systems.
Essential Tools and Materials
Before tackling the repair, ensure you have the proper gear on hand:
- Hex key (Allen wrench) or square socket matching the recessed drive
- Wire brush and lint-free microfiber cloth
- PTFE thread seal tape (Teflon tape)
- Anaerobic pipe thread sealant (pipe dope)
- Penetrating oil or lubricant for seized plugs
- Adjustable wrench and clean bucket
Step-by-Step Guide on How to Fix a Leaking Countersunk Plug
Follow these precise steps to restore a watertight seal on any recessed pipe plug:
1. Shut Down Water and Relieve Pressure
Never attempt to remove or tighten a pressurized fitting. Turn off the main supply valve controlling the line, open a downstream fixture to drain residual water, and place a bucket directly beneath the fitting to catch drips.
2. Extract the Countersunk Plug
Insert the correct hex bit firmly into the recessed socket to avoid stripping the drive. Turn counterclockwise to back the plug out. If the fitting is stuck due to mineral scale or rust, apply penetrating oil, wait ten minutes, and gently tap the wrench handle to break the bond.
3. Inspect and Clean Threads
Examine both male plug threads and female port threads for cracks or stripped sections. Use a stiff wire brush to clean away old tape, hardened dope, and oxidation. Wipe the surfaces completely clean with a dry rag. Damaged threads will not hold pressure and require component replacement.
4. Apply Pipe Dope and PTFE Tape
For high-pressure water systems, a combination of Teflon tape and paste sealant offers maximum reliability:
- Wrap PTFE tape clockwise around the male threads 3 to 4 times, starting from the second thread to avoid clogging the line.
- Apply a thin, uniform coating of non-hardening pipe joint compound over the tape.
5. Reinstall and Torque Correctly
Thread the countersunk plug into the fitting by hand to avoid cross-threading. Once finger-tight, use your hex tool to tighten until snug. Avoid overtightening, as excessive torque can crack the female housing or strip recessed internal drives.
Testing and Maintenance Tips
Turn the water supply back on slowly and observe the connection for ten minutes. Wipe the joint with a dry paper towel to spot any micro-leaks. By mastering how to fix a leaking countersunk plug, you keep your plumbing infrastructure dry, efficient, and trouble-free.
Need Professional Plumbing Help?
If you are unable to stop the drip, professional help is always available. Our skilled team at Emergency-plumber Masfout 14 provides fast, reliable pipe and leak repairs whenever urgent plumbing issues arise in your area.
 plumbing repair, countersunk plug, pipe leak, DIY plumbing
