


 Licensed
 All Dubai
 Plumbing Guides
How to Install a Slide Valve: Complete Step-by-Step Guide
 John Mitchell
 Sep 17, 2026
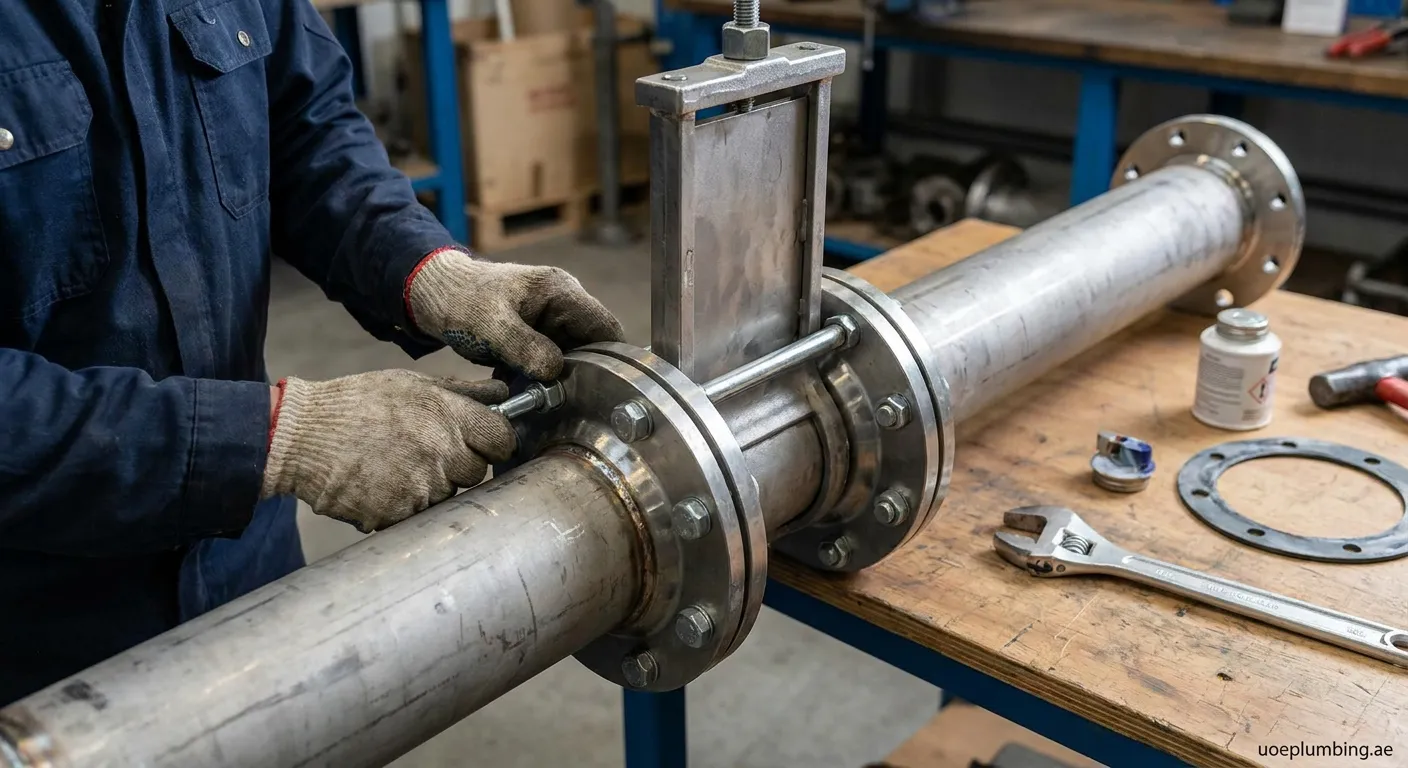
Installing a slide valve requires precision and proper preparation. This guide covers everything from selecting the right valve to completing the installation successfully.
Understanding Slide Valves
A slide valve is a crucial component in many plumbing systems, controlling the flow of water or other fluids. Before learning how to install a slide valve, it's essential to understand its function and applications.
Types of Slide Valves
- Gate valves – Common in residential plumbing
- Knife gate valves – Used for thick fluids
- Parallel slide valves – Industrial applications
- Wedge gate valves – High-pressure systems
Tools and Materials Needed
Before starting the installation process, gather these essential items:
- Adjustable wrench
- Pipe cutter or hacksaw
- Teflon tape or pipe thread sealant
- New slide valve
- Measuring tape
- Clean rag
- Bucket for water drainage
Step-by-Step Installation Process
Step 1: Shut Off Water Supply
The first step in how to install a slide valve is turning off the main water supply. Locate your shut-off valve and close it completely. Open nearby faucets to drain remaining water from the pipes.
Step 2: Remove the Old Valve
If replacing an existing valve:
- Use your wrench to loosen the connecting nuts
- Carefully remove the old valve
- Clean the pipe ends thoroughly
- Inspect pipes for damage or corrosion
Step 3: Measure and Cut
Proper measurement is critical when learning how to install a slide valve correctly:
- Measure the length of your new valve
- Mark the pipe where cuts are needed
- Allow extra space for fittings
- Cut pipes squarely using a pipe cutter
Step 4: Prepare Pipe Threads
Apply Teflon tape or thread sealant to male threads:
- Wrap tape clockwise around threads (3-4 wraps)
- Ensure complete coverage
- Don't over-tighten during installation
Step 5: Install the New Valve
Position the slide valve correctly:
- Align valve arrows with water flow direction
- Hand-tighten all connections first
- Use wrench for final tightening (1-2 turns)
- Avoid over-tightening to prevent damage
Important: Most slide valves have directional arrows indicating proper flow direction. Always follow manufacturer specifications.
Step 6: Test the Installation
After completing the installation:
- Slowly turn on the water supply
- Check all connections for leaks
- Operate the valve several times
- Verify smooth operation
Common Installation Mistakes to Avoid
When mastering how to install a slide valve, avoid these common errors:
- Improper valve orientation – Always check flow direction arrows
- Over-tightening connections – Can crack fittings or damage threads
- Skipping thread sealant – Leads to persistent leaks
- Not cleaning pipe ends – Prevents proper sealing
- Ignoring manufacturer instructions – Each valve may have specific requirements
Maintenance Tips
Regular maintenance ensures your slide valve operates efficiently:
- Exercise the valve quarterly to prevent seizing
- Inspect for corrosion or mineral buildup
- Replace worn gaskets promptly
- Keep valve stem lubricated
When to Call a Professional
While DIY installation is possible, certain situations require professional expertise:
- Complex plumbing configurations
- High-pressure systems
- Commercial applications
- Uncertainty about pipe materials
Final Steps and Professional Help
Now you know how to install a slide valve properly. If you encounter difficulties or prefer professional assistance, our team at Al Musalla offers expert services. Check our Toilet-repair Al Musalla page for reliable plumbing solutions.
 slide valve installation, plumbing guide, valve repair, DIY plumbing, bathroom fixtures
