


 Licensed
 All Dubai
 Plumbing Guides
Step-by-Step: How to Fix a Leaking Reducer Bushing
 Alex Henderson
 Nov 19, 2026
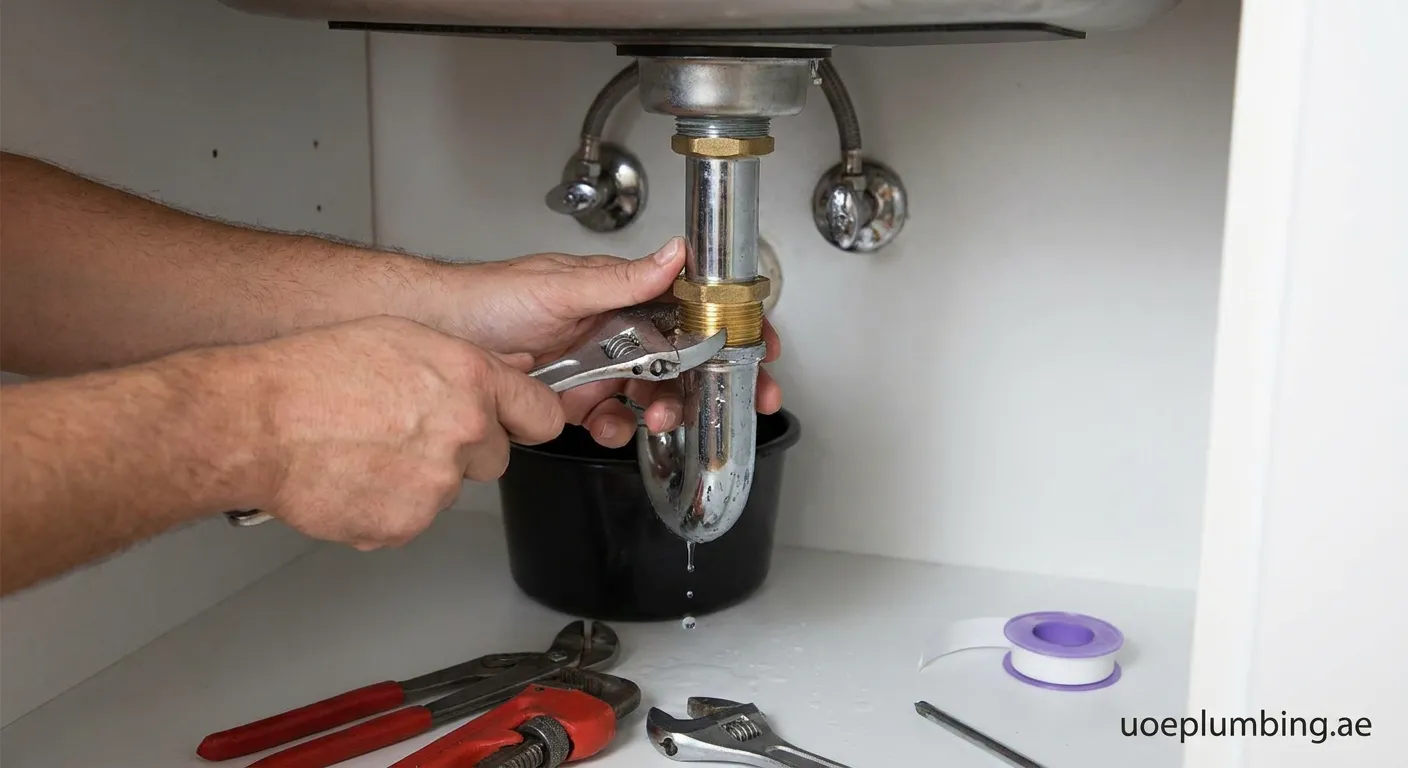
A dripping pipe connection can cause serious water damage if neglected. Learn how to fix a leaking reducer bushing quickly and restore your plumbing system's integrity.
Understanding Reducer Bushing Leaks
A reducer bushing is a threaded or slip fitting designed to connect pipes of different diameters. When water starts seeping around the joint, knowing how to fix a leaking reducer bushing prevents costly structural damage. Leaks typically stem from improper thread engagement, deteriorated thread sealant, cross-threading during installation, or extreme thermal expansion. Identifying the underlying cause will ensure a permanent fix rather than a temporary patch.
Tools and Materials Needed
Before beginning the repair, gather the necessary plumbing equipment:
- Two adjustable pipe wrenches or channel-lock pliers
- High-density PTFE thread seal tape (Teflon tape)
- Premium plumbing pipe joint compound (pipe dope)
- Wire bristle brush and clean shop rags
- Replacement reducer bushing (if the original is cracked or stripped)
- Bucket and towels for catching residual drainage
Step-by-Step Guide: How to Fix a Leaking Reducer Bushing
Follow these practical steps to safely dismantle, clean, and reseal the leaking pipe joint.
Step 1: Shut Off the Water Supply
Always turn off the main water valve or isolating shutoff valve before working on pressurized lines. Open the lowest faucet in the house to relieve residual pressure and drain standing water.
Step 2: Disassemble the Fitting
Place one pipe wrench on the main fitting or pipe hub to support it, and use the second wrench to turn the reducer bushing counter-clockwise. Applying counter-leverage prevents twisting adjacent pipes or breaking hidden wall joints.
Step 3: Inspect and Clean Threads
Examine both male and female threads thoroughly. If you spot hairline cracks or stripped threads on the fitting, replace it immediately. Use a wire brush to scrub away old hardened pipe dope, mineral buildup, and shredded tape. Wipe clean with a dry rag.
Step 4: Apply Sealant Correctly
To master how to fix a leaking reducer bushing, proper sealing is paramount. Wrap PTFE tape clockwise around the male threads 3 to 5 times, pulling tightly so it sits deeply into the thread grooves. For pressurized water systems, apply a thin coat of pipe joint compound directly over the tape. This dual-seal method guarantees a watertight barrier.
Step 5: Reassemble and Tighten
Thread the reducer bushing into the larger fitting by hand first to avoid cross-threading. Once hand-tight, use wrenches to tighten an additional 1.5 to 2.5 turns. Avoid over-tightening, as excessive torque can crack cast brass, iron, or PVC fittings.
Step 6: Test Under Pressure
Turn on the water supply slowly to inspect for seepage. Wipe the joint with a dry tissue; if moisture appears, tighten by a quarter turn.
Professional Plumbing Solutions
If you encounter persistent leaks or need expert help, contact our specialists. We also provide Shower-mixer-repair Al Fagaa services to keep your entire home plumbing running smoothly and reliably.
 plumbing repair, pipe fittings, reducer bushing, leak repair
