How to Fix a Leaking Impeller: Complete DIY Guide
A leaking impeller can cause significant water damage and reduce pump efficiency. This comprehensive guide walks you through diagnosing and repairing impeller leaks, helping you restore your pump's performance.
Understanding Impeller Leaks
An impeller is a rotating component in pumps that moves fluid through the system. When it starts leaking, you'll notice reduced water pressure, unusual noises, or visible water around the pump housing. How to fix a leaking impeller depends on identifying the root cause first.
Common Causes of Impeller Leaks
- Worn seals and gaskets: Over time, rubber seals degrade and lose their effectiveness
- Cracked impeller housing: Physical damage from debris or freezing temperatures
- Loose connections: Vibrations can cause fittings to become loose
- Corrosion: Chemical exposure or mineral buildup damages components
- Improper installation: Misaligned parts create gaps for water escape
Tools and Materials Needed
Before learning how to fix a leaking impeller, gather these essential tools:
- Adjustable wrenches and screwdrivers
- Replacement seals and gaskets
- Silicone sealant
- Clean rags and towels
- Bucket for water drainage
- Flashlight for inspection
- Safety glasses and gloves
Step-by-Step Repair Process
1. Safety First
Always disconnect power to the pump before starting any repair. Turn off the circuit breaker and verify the power is off. Close the water supply valves to prevent flooding.
2. Locate the Leak Source
Clean the pump area thoroughly and run the pump briefly to identify where water escapes. Mark the leak location with a grease pencil for reference during disassembly.
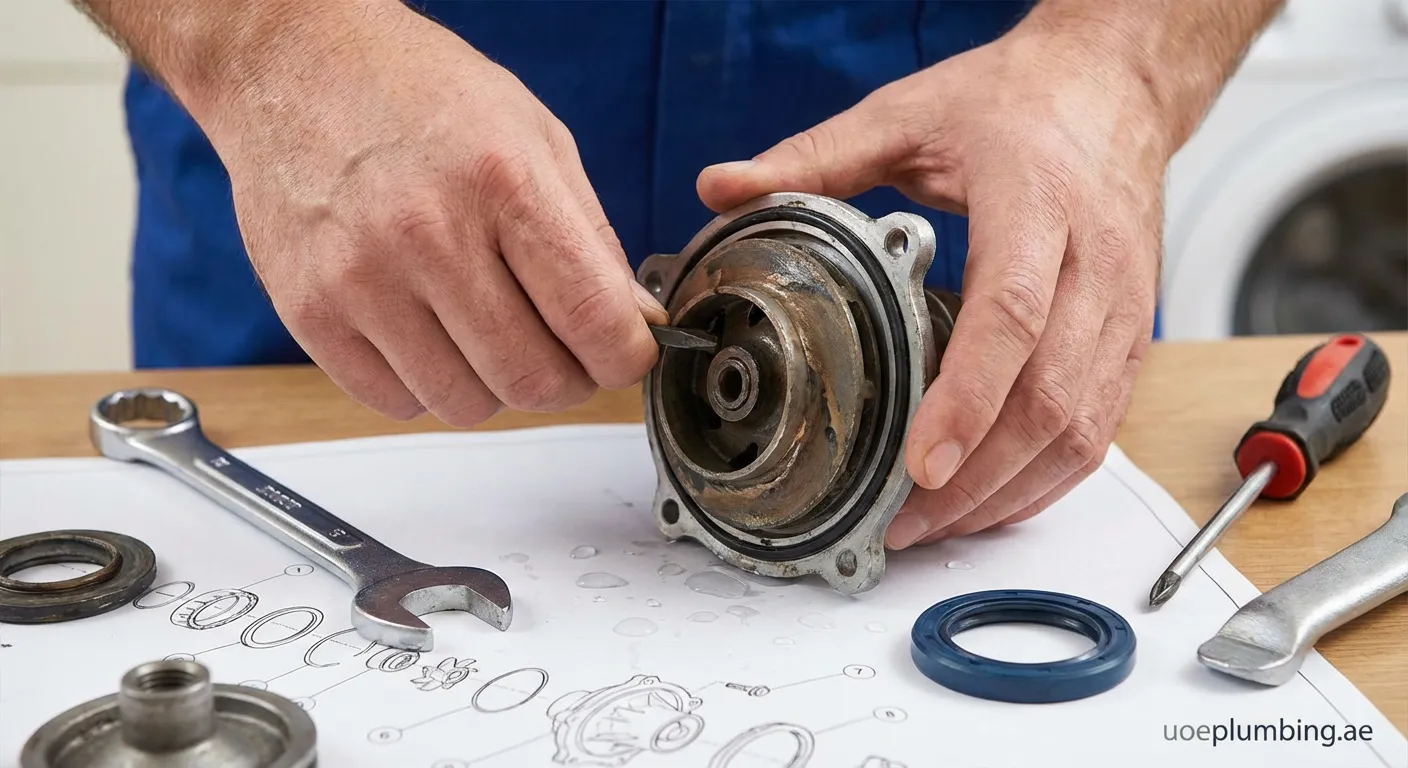
3. Disassemble the Pump Housing
Remove the housing bolts in a crisscross pattern to prevent warping. Carefully separate the housing halves and inspect all components for damage or wear.
4. Replace Worn Components
When fixing a leaking impeller, focus on:
- Seal replacement: Remove old seals carefully and clean the seating surfaces. Install new seals with the correct orientation.
- Gasket inspection: Replace any cracked or compressed gaskets with manufacturer-approved replacements.
- Impeller check: Look for cracks, chips, or excessive wear on the impeller blades.
5. Reassemble and Test
Apply a thin layer of silicone sealant where specified by the manufacturer. Reassemble components in reverse order, tightening bolts evenly. Restore power and test the pump for proper operation.
Prevention Tips
Regular maintenance prevents future impeller leaks:
- Schedule quarterly inspections of seals and gaskets
- Keep the pump area clean and debris-free
- Monitor for unusual sounds or vibrations
- Address minor leaks immediately before they worsen
- Use water treatment to reduce mineral buildup
When to Call a Professional
Some situations require expert assistance. Contact a licensed plumber if:
- The leak persists after DIY repair attempts
- You discover extensive corrosion or structural damage
- The pump motor shows signs of electrical problems
- You lack the proper tools or confidence for the repair
Final Thoughts on Impeller Repair
Knowing how to fix a leaking impeller saves you time and money while preventing water damage. Regular maintenance and prompt repairs keep your pump system running efficiently. For complex issues or professional assistance, our experts at 24-7-plumber As Saţwah Sharq are ready to help with all your plumbing needs.