How to Fix a Leaking Close Nipple Seal: Complete Guide
A leaking close nipple seal can cause significant water damage if left unaddressed. This guide walks you through identifying the problem and implementing an effective solution that restores your plumbing system's integrity.
How to fix a leaking close nipple seal starts with understanding what you're dealing with.
What Is a Close Nipple Seal?
A close nipple seal connects two threaded pipes together with minimal visible threading. This fitting creates a tight seal that prevents water from escaping at connection points in your plumbing system.
Common Causes of Leaks
Several factors contribute to leaks in close nipple seals:
- Corroded threads from age or water quality
- Improper installation without sufficient thread sealant
- Physical damage to the nipple or surrounding pipes
- Temperature fluctuations causing expansion and contraction
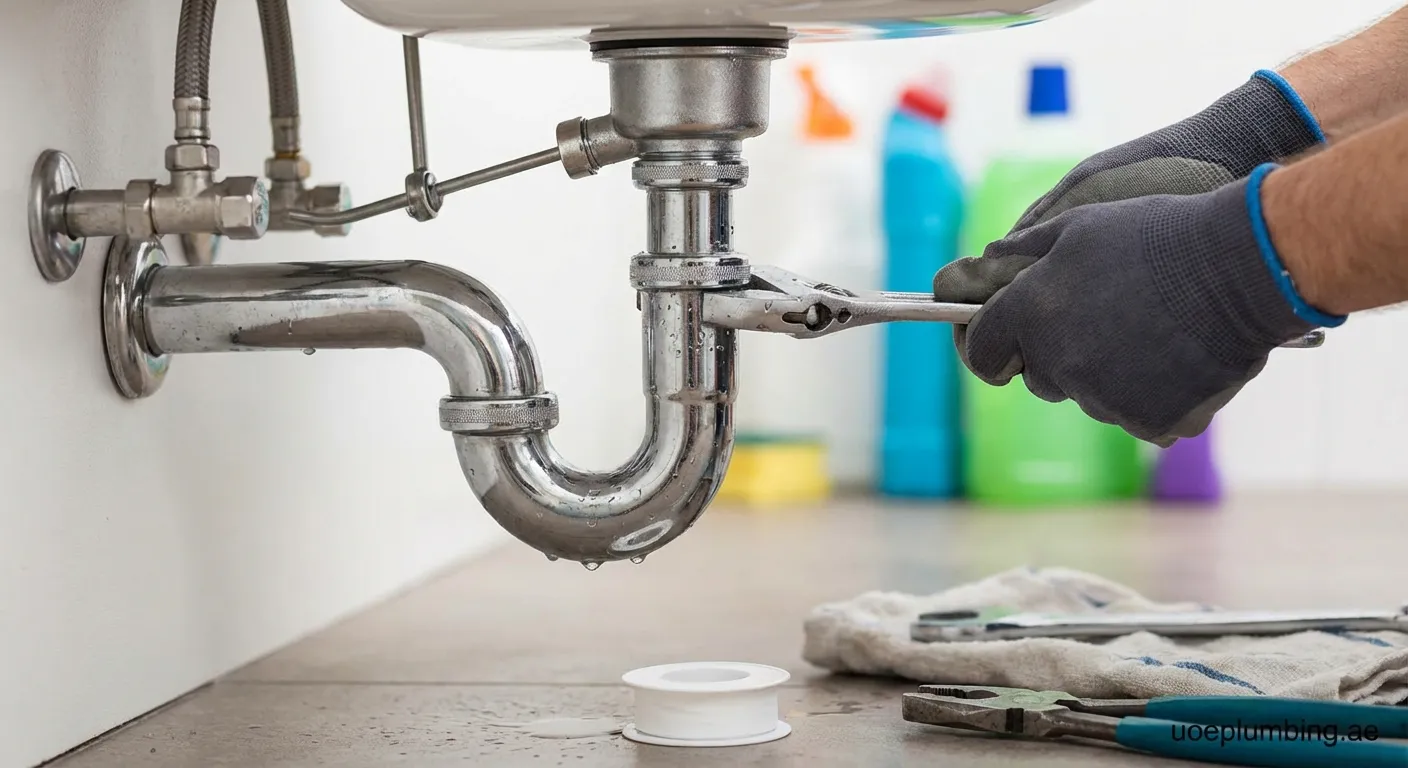
Tools and Materials Needed
Before learning how to fix a leaking close nipple seal, gather these essential items:
| Item | Purpose |
|---|---|
| Pipe wrench | Removing fittings |
| Thread seal tape | Creating watertight seal |
| Pipe dope | Alternative sealing compound |
| Replacement nipple | If current one is damaged |
| Teflon paste | Additional sealing option |
| Bucket | Catching residual water |
Step-by-Step Repair Process
Step 1: Shut Off Water Supply
Always turn off the main water valve before beginning any plumbing repair. Open nearby faucets to drain remaining water from the pipes.
Step 2: Remove the Damaged Nipple
Use two pipe wrenches — one to hold the fitting steady and another to unscrew the leaking close nipple. Turn counterclockwise slowly to avoid damaging surrounding pipes.
Tip: Apply penetrating oil if the nipple is stuck due to corrosion. Wait 15-20 minutes before attempting removal.
Step 3: Clean and Inspect Threads
Examine both the nipple threads and female threads for damage. Use a wire brush to remove old sealant, rust, or debris. Replace the nipple if threads are severely worn.
Step 4: Apply New Sealant
Wrap thread seal tape clockwise around male threads (following thread direction). Apply 3-5 wraps for optimal coverage. Alternatively, use pipe dope or Teflon paste according to manufacturer instructions.
Step 5: Reinstall and Tighten
Thread the nipple back into place by hand first, then tighten with wrenches. Avoid over-tightening, which can crack fittings or damage threads.
Prevention Tips
Preventing future leaks requires proactive maintenance:
- Inspect visible pipes quarterly for corrosion signs
- Address small drips immediately before they worsen
- Use high-quality sealing materials during installation
- Consider water softeners in areas with hard water
Final Thoughts on Seal Repair
Now you know how to fix a leaking close nipple seal effectively. Regular maintenance prevents future issues and saves money on repairs. For professional assistance, our Plumber Ragayeb 1 service is ready to help with any plumbing challenges.