


 Licensed
 All Dubai
 Plumbing Repairs
How to Fix a Leaking Faucet Handle Screw: Complete Guide
 Michael Johnson
 Aug 20, 2026
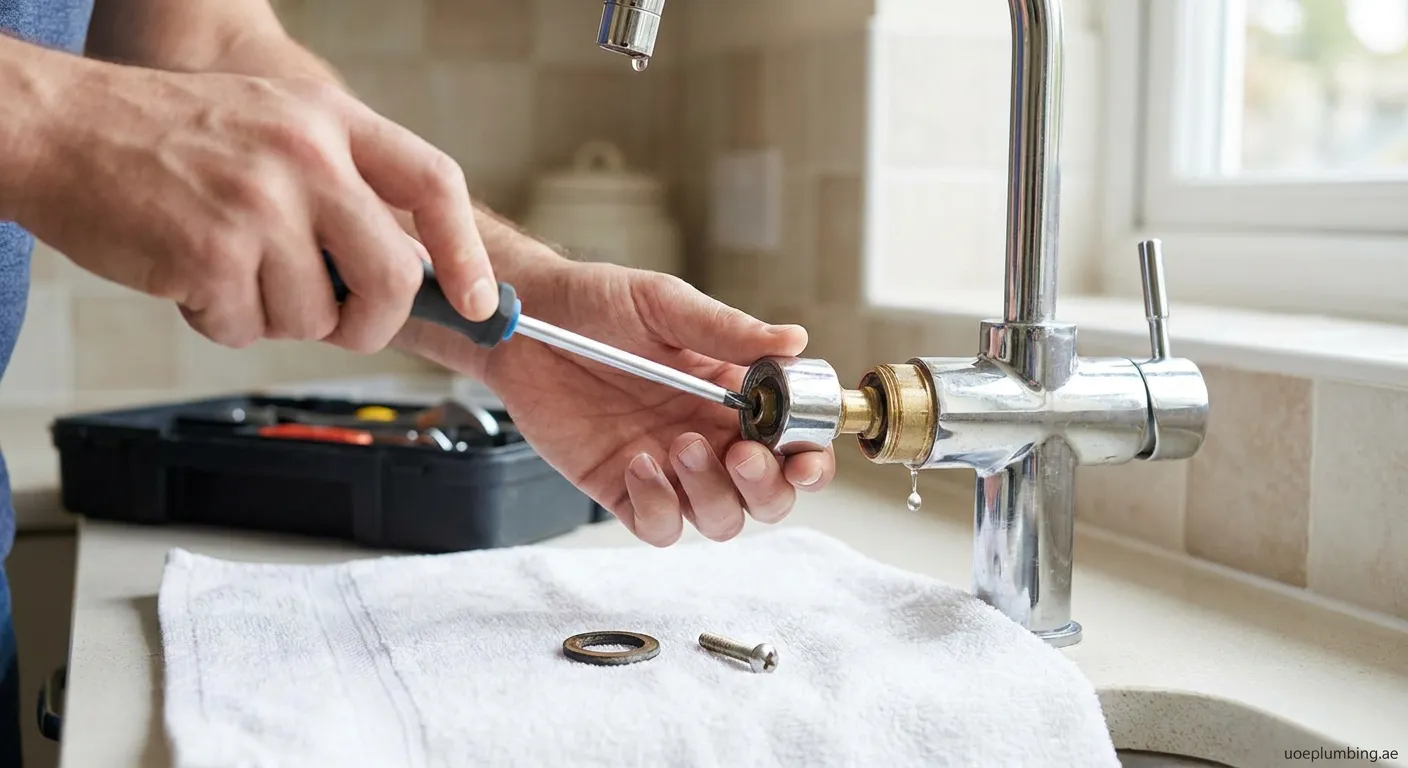
A leaking faucet handle screw wastes water and can cause cabinet damage. Troubleshooting a leaking faucet handle screw early saves money and prevents bigger plumbing issues.
A leaking faucet handle screw is a common household issue that wastes water and increases utility bills. Understanding the root causes helps you fix the problem quickly and effectively.
Common Causes of Handle Screw Leaks
Before troubleshooting a leaking faucet handle screw, identify what's causing the drip:
- Worn-out O-rings: Small rubber rings create a watertight seal around the handle screw
- Corroded or loose handle screw: Age and water exposure damage the metal
- Cracked valve stem: Internal damage allows water to seep through
- Mineral buildup: Hard water deposits prevent proper sealing
- Worn valve seat: The brass seat corrodes over time
Tools You'll Need
Gather these essentials before starting:
- Adjustable wrench or pliers
- Screwdriver set (Phillips and flathead)
- Replacement O-rings or handle screw
- Plumber's grease
- Clean cloth or rag
- White vinegar (for mineral deposits)
Step-by-Step Repair Guide
Step 1: Shut Off the Water Supply
Locate the shut-off valve under your sink and turn it clockwise. Open the faucet to drain remaining water from the lines.
Step 2: Remove the Handle
Pop off the decorative cap on top of the handle using a flathead screwdriver. Unscrew the handle screw and carefully lift the handle off the stem.
Step 3: Inspect the Handle Screw and O-Rings
Examine the handle screw for signs of corrosion, stripping, or damage. Check the O-rings around the stem—they should be intact and flexible. Cracked or brittle O-rings must be replaced.
Pro Tip: Take the old parts to a hardware store to find exact replacements. Faucet models vary, and proper fit is crucial.
Step 4: Clean Mineral Deposits
Soak the valve stem and handle screw assembly in white vinegar for 15-20 minutes. This dissolves mineral buildup that prevents proper sealing. Scrub gently with an old toothbrush.
Step 5: Replace Damaged Components
Install new O-rings, applying a thin layer of plumber's grease for smooth operation. If the handle screw is stripped or corroded, replace it with a matching part.
Step 6: Reassemble and Test
Reattach the handle, tighten the screw securely (but don't overtighten), and replace the decorative cap. Turn the water supply back on and check for leaks.
When to Call a Professional
Some situations require expert help:
- The valve stem is cracked or severely damaged
- Leaks persist after replacing O-rings and handle screw
- You have an older faucet with hard-to-find parts
- Multiple components need replacement
Regular maintenance prevents most faucet handle leaks. Inspect your fixtures annually and address minor issues before they become major problems.
Stop That Leak for Good
Now you know the essentials of troubleshooting a leaking faucet handle screw. Follow these steps to stop drips and prevent water damage. If the problem persists, our professionals at Faucet-repair Muzayri' are ready to help with expert service.
 faucet repair, plumbing, water leak, DIY fixes, handle screw
