


 Licensed
 All Dubai
 Plumbing Guides
How to Replace a Bathtub Spout: Step-by-Step Guide
 Mark Reynolds
 Oct 11, 2026
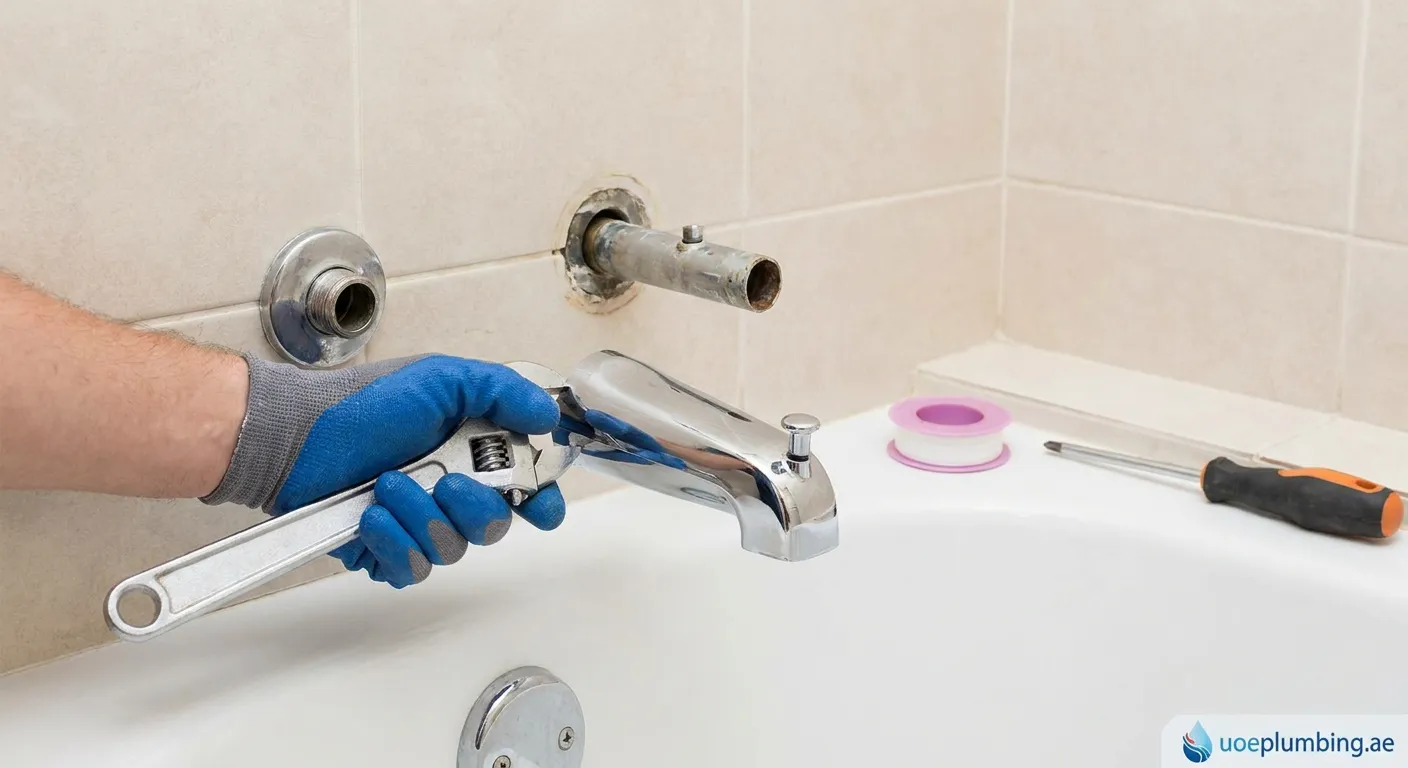
Is your tub fixture leaking or outdated? Learning how to replace a bathtub spout is an easy DIY plumbing project that instantly refreshes your bathroom and prevents costly leaks.
Upgrading your bathroom fixtures does not have to be difficult or expensive. Knowing how to replace a bathtub spout allows you to fix dripping water, address diverter failures, and modernize your bath space in under an hour.
Identifying Your Bathtub Spout Type
Before starting, determine which type of spout is currently installed on your wall. Bathtub spouts typically fall into two main categories:
- Slip-On Spout (with set screw): Slides onto a smooth copper pipe and tightens using an Allen screw located beneath the spout near the wall.
- Threaded (Screw-On) Spout: Twists directly onto a threaded pipe nipple protruding from the wall or deeper inside the fixture.
Look underneath the spout near the wall with a flashlight. If you see a small notch or cutout with an Allen screw, it is a slip-on model. If there is no screw or hole, you have a threaded spout.
Tools and Materials Required
To successfully complete a tub spout replacement, gather these items:
- Replacement bathtub spout (with or without diverter)
- Hex key (Allen wrench) or screwdriver
- Pipe wrench or large adjustable pliers
- Plumber's tape (Teflon tape)
- Silicone caulk and caulk gun
- Clean rags and wire brush
Step-by-Step Instructions: How to Replace a Bathtub Spout
Follow these detailed steps to complete the installation smoothly.
1. Prepare the Area and Turn Off Water
While you do not always need to shut off the main water supply for a simple spout swap, it is safer to turn off the water supply valves to avoid accidental leaks or surprises while working.
2. Remove the Old Bathtub Spout
- For slip-on spouts: Loosen the set screw underneath using the proper size Allen wrench. Once loose, gently twist and pull the spout straight off the copper pipe.
- For threaded spouts: Grip the spout with adjustable pliers or turn it counterclockwise by hand. Protect the finish with a rag if you intend to reuse it. Carefully unscrew it until it comes free.
3. Clean and Prep the Pipe
Thoroughly clean any mineral deposits, old sealant, or debris from the pipe using a rag and a stiff brush. If your new unit is threaded, wrap fresh plumber's tape clockwise around the pipe threads 3–4 times to ensure a watertight seal.
4. Install the New Bathtub Spout
- Installing a slip-on model: Slide the new spout over the smooth copper stub-out until it rests flush against the wall. Tighten the set screw securely beneath the spout.
- Installing a threaded model: Thread the spout onto the pipe clockwise by hand until snug. Align the outlet facing straight down. Avoid over-tightening, as this can damage the internal plumbing.
5. Test and Seal
Turn on the water and test both the spout and the shower diverter mechanism. Check around the base for any leaks. Finally, apply a neat bead of waterproof silicone caulk around the top and sides of the spout where it meets the wall, leaving a small opening at the bottom for drainage.
Expert Plumbing Help When You Need It
Upgrading fixtures is simple, but complex plumbing issues need expert care. If you need help with Faucet-repair Al Sinnayah Island or local emergency support, our certified team is always available to ensure flawless installations.
 bathtub spout replacement, DIY plumbing, tub faucet repair, bathroom fixtures
