


 Licensed
 All Dubai
 Plumbing Tips
How to Clean a Clogged Aerator: Easy Guide
 Alex Morgan
 Nov 15, 2026
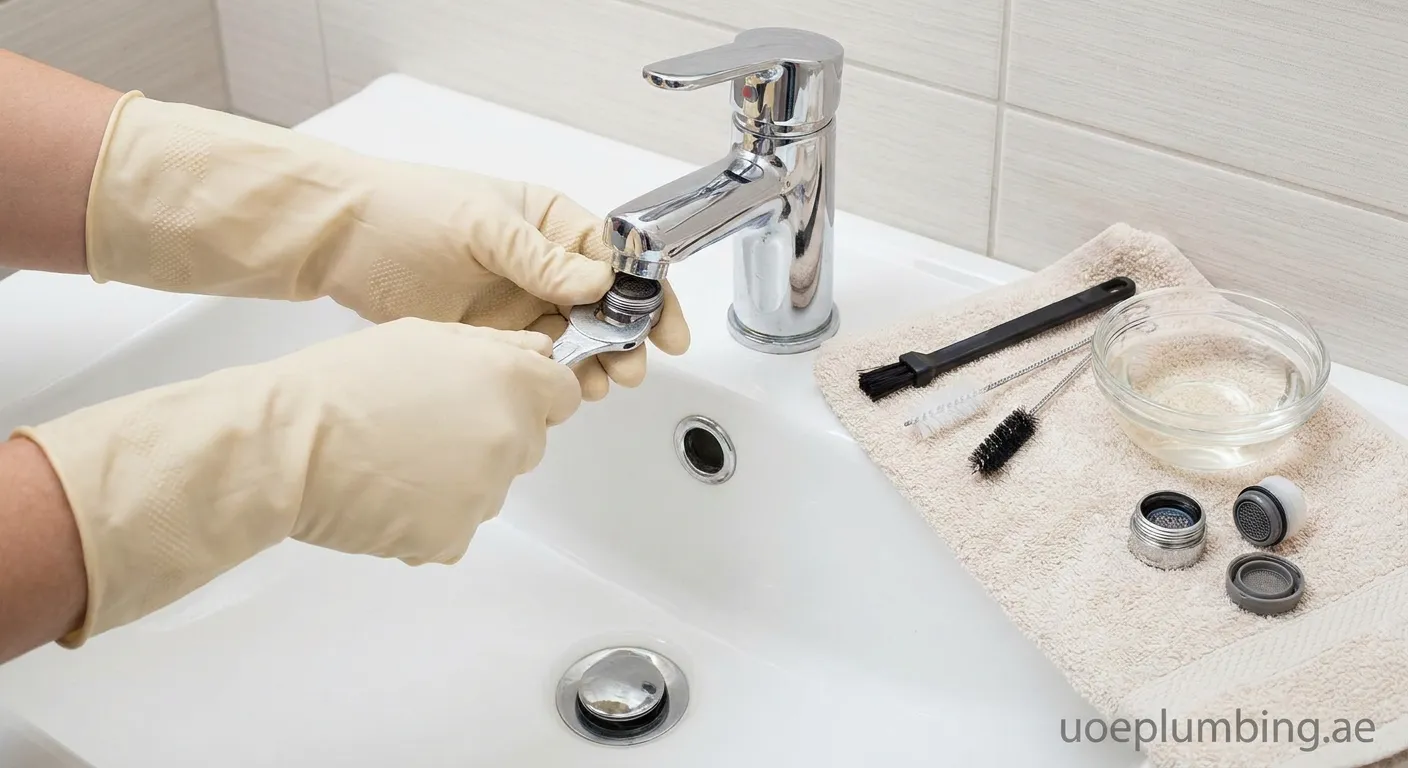
Is your sink suffering from weak water pressure or spraying unevenly? Knowing how to clean a clogged aerator can instantly fix the issue without calling a plumber.
Why Faucet Aerators Get Clogged
Faucet aerators are small mesh screens fitted to the tip of your taps. Their primary role is to mix air into the water stream, creating a smooth, splash-free flow while reducing water consumption. Over time, mineral deposits like calcium and limescale, along with sand and sediment from municipal pipes, accumulate inside the tiny mesh screen. When this happens, water flow slows down significantly or sprays erratically in multiple directions.
Signs Your Aerator Needs Cleaning
- Low water pressure: A noticeable reduction in flow rate from one specific faucet.
- Uneven or split spray: Water shooting sideways or sputtering when opened.
- Visible buildup: White or yellowish crust around the faucet nozzle.
Tools You Will Need
Before starting, gather these simple household items:
- Adjustable wrench or tongue-and-groove pliers
- Masking tape or a soft rag to protect the faucet finish
- An old toothbrush or small stiff brush
- White distilled vinegar
- A small bowl or mug
- A sewing needle or paperclip for stubborn debris
Step-by-Step: How to Clean a Clogged Aerator
Follow these straightforward steps to restore optimal water flow:
1. Close the Sink Drain
Before unscrewing any parts, plug the sink drain with a stopper or cover it with a cloth. This prevents tiny washers, screens, and o-rings from accidentally falling down the drainpipe.
2. Remove the Aerator
Turn the aerator counterclockwise with your fingers. If it is stuck due to mineral buildup, wrap the tip in masking tape or a rag and gently use pliers to loosen it. Be careful not to scratch or warp the metal housing.
3. Disassemble the Parts
Carefully take apart the aerator components. Note the exact order of the parts—usually consisting of a rubber washer, plastic mixer, fine mesh screens, and the outer casing. Taking a quick photo helps during reassembly.
4. Rinse and Brush Away Loose Sediment
Hold each component under running water to flush out loose grit. Use an old toothbrush to scrub away surface grime and dislodge trapped sand particles from the screen.
5. Soak in Distilled White Vinegar
Submerge the disassembled parts in a small bowl filled with warm white vinegar for 30 to 60 minutes. The mild acid breaks down hard water limescale and mineral deposits without damaging the components. If buildup is severe, let it soak for a few hours.
6. Clear Stubborn Holes
After soaking, brush the components again. If tiny mesh openings remain blocked, gently poke through the holes using a needle or the tip of a paperclip.
7. Reassemble and Test
Put the pieces back together in the original sequence. Screw the aerator back onto the faucet spout clockwise by hand until snug. Turn on the water to check for smooth flow and inspect for leaks around the threads.
Tips to Prevent Future Clogs
Knowing how to clean a clogged aerator is handy, but regular care prevents severe blockages:
- Clean kitchen and bathroom aerators at least twice a year.
- Flush lines after local municipal water repairs or plumbing maintenance.
- Consider installing a water softener if you live in an area with hard water.
Restore Your Water Pressure Today
Regular maintenance keeps your fixtures flowing smoothly. If mineral buildup or plumbing issues persist, contact our expert Plumber Margham team for prompt, professional service.
 faucet aerator, plumbing tips, DIY plumbing, water pressure
