How to Fix a Leaking Shut-Off Valve: Complete Guide
Discovering how to fix a leaking shut-off valve can save you from costly water damage and expensive plumber fees. This guide provides practical solutions for homeowners.
Understanding Shut-Off Valve Problems
A leaking shut-off valve is more than just an annoyance—it's a warning sign of potential plumbing failure. These valves control water flow to fixtures throughout your home, making them essential components of your plumbing system.
Common Causes of Leaks
Before learning how to fix a leaking shut-off valve, understand what causes the problem:
- Worn-out washers: The most common culprit behind valve leaks
- Corroded valve stems: Age and water quality cause deterioration
- Loose packing nuts: Creates gaps where water escapes
- Cracked valve bodies: Often requires complete replacement
- Improper installation: Poor connections lead to persistent leaks
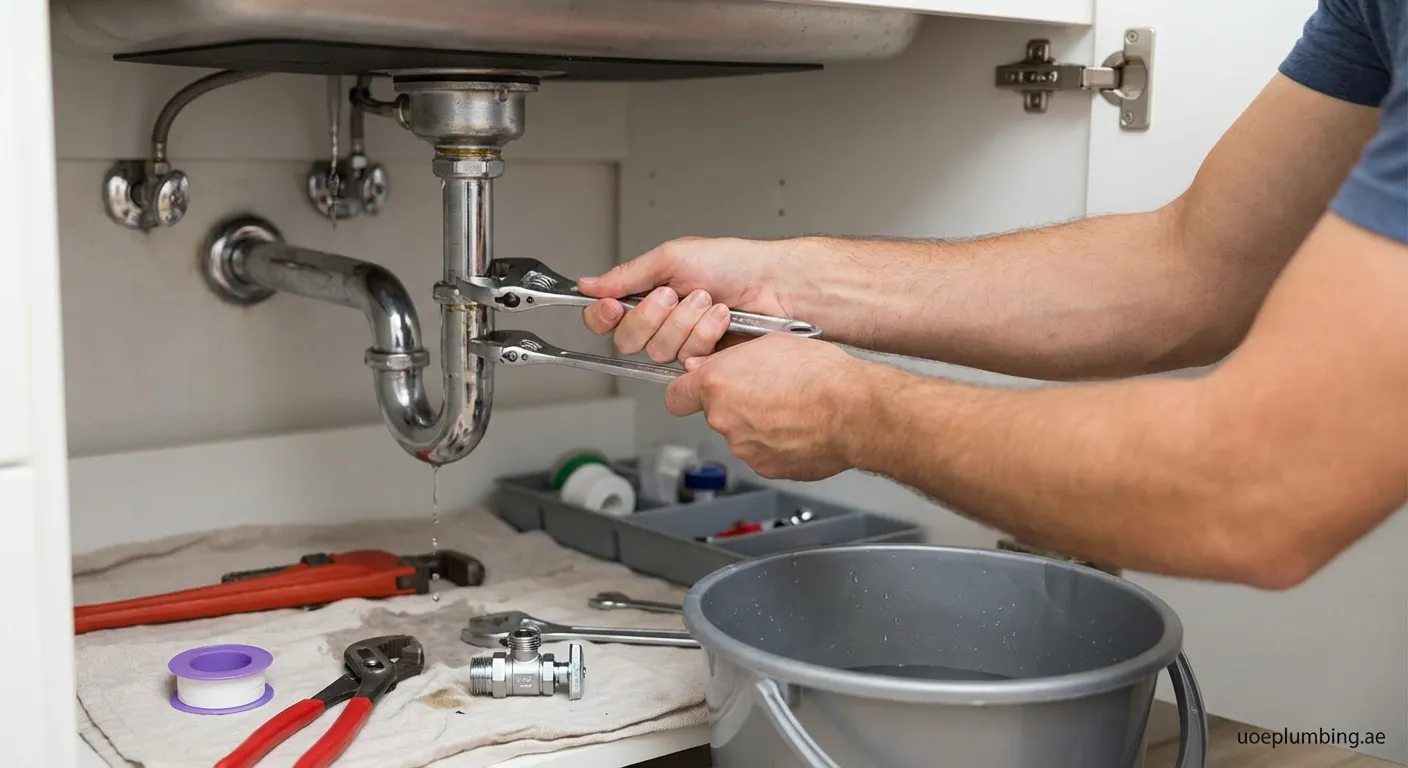
Tools You'll Need
Gather these essentials before starting:
- Adjustable wrench
- Replacement washers (appropriate size)
- Plumber's grease
- Teflon tape
- Bucket or towel
- Flashlight
- New valve (if replacement is necessary)
Step-by-Step Repair Process
Step 1: Turn Off Main Water Supply
Before attempting any repair, locate and shut off your home's main water supply. Open faucets to drain remaining water from the pipes.
Step 2: Identify the Leak Source
Examine where the water is escaping:
- Around the handle: Usually a packing nut issue
- From the spout: Typically a worn washer
- At connection points: May need tightening or new fittings
Step 3: Tighten the Packing Nut
Using your adjustable wrench, gently tighten the packing nut located just below the handle. Don't overtighten—this can damage the valve.
Pro Tip: If tightening doesn't stop the leak, proceed to washer replacement rather than forcing the nut further.
Step 4: Replace the Washer
For persistent leaks:
- Remove the handle by unscrewing its screw
- Unscrew the valve stem assembly
- Remove the old washer from the bottom of the stem
- Install a new washer coated with plumber's grease
- Reassemble in reverse order
When Replacement Is Necessary
Sometimes learning how to fix a leaking shut-off valve means knowing when to replace it entirely:
- Visible cracks in the valve body
- Severe corrosion that compromises structure
- Multiple failed repair attempts
- Valves older than 15-20 years
Preventing Future Leaks
Maintain your valves with these practices:
- Exercise valves twice yearly by turning them off and on
- Inspect for corrosion during routine checks
- Address minor drips immediately before they worsen
Fix It Before It Floods
Now you know how to fix a leaking shut-off valve and prevent future issues. Regular maintenance saves money and prevents emergencies. For stubborn clogs or complex problems, our professional Drain-cleaning Al Ramla West service is available.