


 Licensed
 All Dubai
 Plumbing Maintenance
How to Fix a Leaking Clearance Seal Complete Guide
 Michael Johnson
 Jul 02, 2026
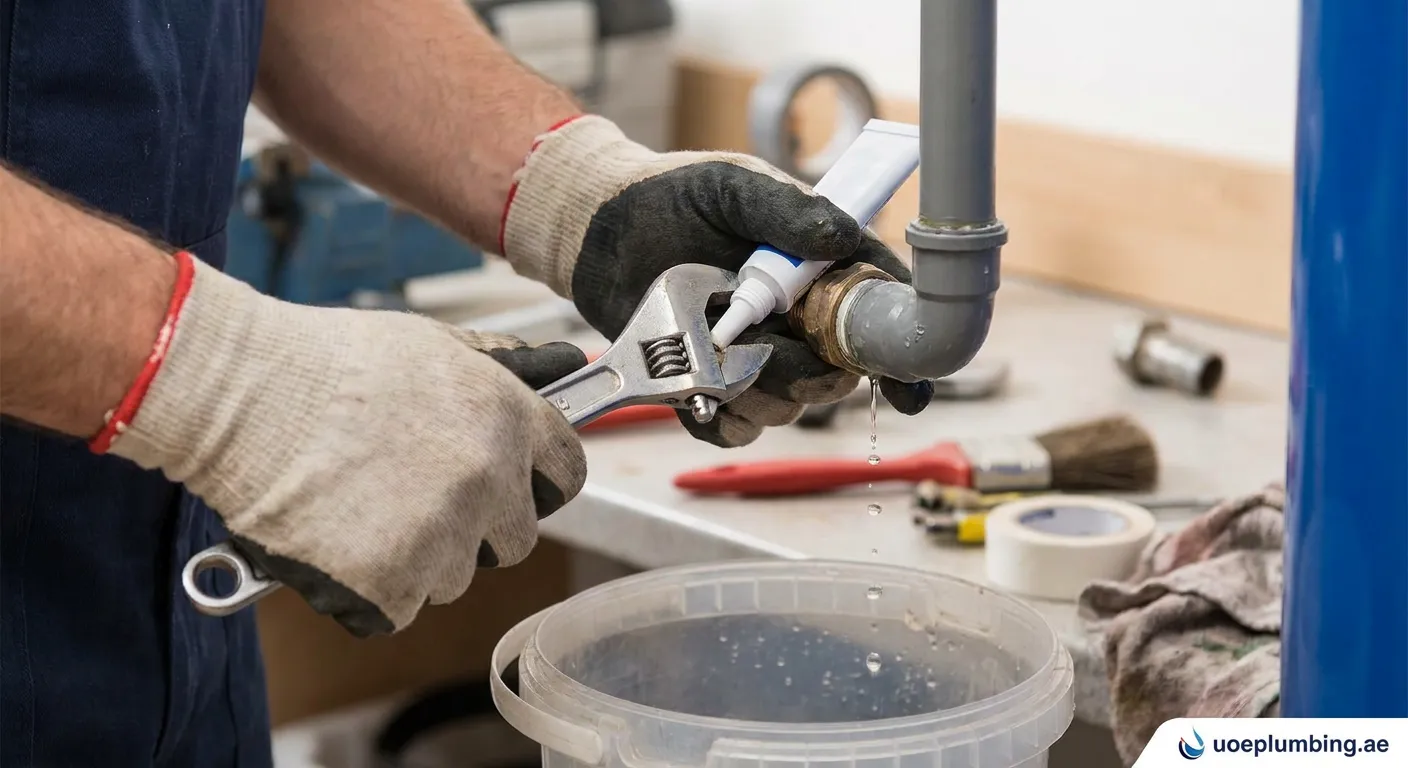
A leaking clearance seal can cause significant water damage if left unaddressed This comprehensive guide will walk you through identifying and fixing this common plumbing issue step by step
Understanding Clearance Seal Leaks
A clearance seal is a critical component in many plumbing fixtures and appliances that prevents water from escaping between moving parts.
What Causes Clearance Seal Leaks?
Several factors contribute to seal degradation:
- Normal wear and tear from regular operation
- Hard water deposits accumulating on seal surfaces
- Improper installation causing misalignment
- Temperature fluctuations affecting material integrity
- Chemical damage from harsh cleaning products
Tools Needed for Repair
Before learning how to fix a leaking clearance seal, gather these essential tools:
- Adjustable wrench set
- Seal removal tool or pick
- Replacement seal kit
- Silicone lubricant
- Clean rags
- Vinegar solution for cleaning
- Flashlight for inspection
- Measuring tape or calipers
Step-by-Step Repair Process
Step 1: Identify the Leak Source
Carefully inspect the area where you suspect the clearance seal leak originates.
Look for:
- Water droplets forming at connection points
- Mineral deposits indicating previous leaks
- Visible gaps between components
- Corrosion around metal parts
Step 2: Shut Off Water Supply
Always turn off the water supply before beginning any repair work.
Locate the shutoff valve nearest to the affected fixture and turn it clockwise until fully closed.
Step 3: Remove the Damaged Seal
How to fix a leaking clearance seal properly requires careful removal:
- Disconnect any components housing the seal
- Use a seal pick to gently pry out the old seal
- Note the orientation of the original seal for proper reinstallation
- Clean all surfaces thoroughly with vinegar solution
Step 4: Install Replacement Seal
When installing a new clearance seal:
Always verify compatibility between replacement seals and original manufacturer specifications to ensure proper function.
Key installation steps:
- Apply thin layer of silicone lubricant to new seal edges
- Position seal exactly as original was oriented
- Press firmly until properly seated in groove or channel
- Ensure no twisting or folding occurred during placement
- Reassemble all components carefully without overtightening connections which could damage new seals. 6.Apply compatible lubricant during assembly to minimize friction and ensure proper seating of components. 7.Test thoroughly by cycling system through several complete operations while checking all connection points continuously during first few minutes after water restoration. 8.Document work performed including date installed plus specific part numbers used as reference for future maintenance needs. 9.Store leftover materials properly according to manufacturer recommendations—typically in cool dry locations away from direct sunlight. 10.Schedule follow-up inspection within two weeks confirming continued proper operation without recurrence of original symptoms.
Preventive Maintenance Tips
Final Thoughts on Seal Repair
Understanding how to fix a leaking clearance seal can save you time and money on repairs. For complex issues or professional assistance in other areas like Dubai Silicon Oasis, visit Plumbing-services Dubai Silicon Oasis.
 clearance seal, plumbing repair, leak fix, seal replacement
